Why Banana Bread Doesn’t Rise: Main Reasons and Solutions
Banana bread is the kind of bake you want to make when you have a few overripe bananas left in the kitchen and suddenly find yourself with a free hour. The dough comes together quickly, a sweet aroma fills the air, and you anticipate a fluffy, tender crumb. But sometimes the bread turns out flat and heavy, with a dense, slightly ‘wet’ center instead of a tempting rise. People often blame themselves: ‘I did something wrong,’ ‘Maybe I’m not good at baking.’ But it’s not about the apron or experience; it’s about the details of the process. Banana bread is not just about bananas. It’s about how the ingredients behave, how the dough feels, how the oven performs. It’s good to know what to pay attention to and why it affects the result. Today, we’ll talk about those very moments that hold everything together and how to learn to feel them with your hands, eyes, and nose.
Banana Bread: Why Doesn’t It Rise?
If your banana bread turns out low, dense, or even ‘sinks’ in the center, it’s not just an unfortunate incident. There are almost always one (or several) technical reasons at play. Most often, it comes down to balance: liquid, leavening activity, temperature, dough texture. What seems like a small detail actually determines the fate of the bake. I remember how, at the beginning of my practice, I often underestimated such nuances myself. I might have added a bit more bananas and wondered why the bread wasn’t ‘growing.’ So let’s figure it out together: what affects the rise and how to control it even without a chef’s experience.
Leavening Agents: How They Work and Why They Can Fail
Leavening agents are what give bread its lightness and volume. In banana bread, this is usually baking soda, baking powder, or a combination of both. But they’re not magicians: they need the right conditions to work. Baking soda reacts with acids (like buttermilk or lemon juice) and releases gas, which lifts the dough. If there’s not enough acidity, the soda simply doesn’t ‘work.’ Baking powder is simpler: it contains both acid and soda, but it’s also sensitive to moisture and temperature.
- Old baking soda or powder is almost always a reason for failure. An old can that’s been open for a year might not give any reaction.
- Too much leavening makes the bread rise sharply but then fall and become dense.
- Not enough, and it doesn’t rise at all.
I once fell into this trap: I was in a hurry and grabbed soda that was left from the previous year. The result was a dull, heavy bread, even though all the other ingredients were fresh. It’s a small thing that’s easy to overlook, but its impact is huge. So check your leavening agents: a drop of lemon juice on soda should give an active fizz. If there’s almost no reaction, it’s time to buy new.
Why So: The Mechanics of Rising
When mixing the dough, soda or baking powder releases carbon dioxide. These gas bubbles try to ‘inflate’ the dough, lifting it upwards. But if the dough is too runny, the bubbles quickly rise and burst, failing to create a structure. If the dough is too thick, the gas doesn’t have enough strength to lift it. So it’s important not only to add the right amount of leavening but also to watch the consistency.
Tip: Always mix the leavening agent with the dry ingredients separately, and only then add the wet ones. This way, it will be evenly distributed throughout the dough.
Dough Consistency: How It Should Look and Feel
Banana bread isn’t a cake, but it’s not bread in the classic sense either. The dough for it should be thicker than for pancakes but softer than for buns. In short, it should slowly drip from a spoon, leaving a heavy ‘wave’ behind. To the touch, it’s smooth, slightly sticky, but not runny. If you swirl the bowl, the dough should move slightly but not ‘flow.’
- Too runny dough, and the bread won’t rise; the center will be raw.
- Too thick, and the rise is minimal, with a heavy structure.
It’s important to focus not on milliliters but on feel and appearance. Bananas come in different ripeness and sizes, so sometimes you have to adjust the flour or liquid literally by eye. I often add flour by the spoonful until the dough reaches the desired thickness. After a few times, it starts to feel intuitive. The smell of bananas becomes more pronounced at this moment, and the dough feels pleasantly warm to the touch. That’s a signal — you’re on the right track.
Hack: The Spoon Test
Scoop up the dough with a spoon and lift it. It should fall heavily in a ‘ribbon,’ not tearing. If it pours like buttermilk, add a bit more flour. If it separates in chunks, add a little liquid or mash another banana.
Tip: Mix the dough slowly until the large lumps disappear. Mixing too vigorously risks overbeating the dough and getting dense baked goods.
Temperature of Ingredients and Baking: Why It’s Important
Often, banana bread doesn’t rise due to incorrect temperature — both of the ingredients and the oven. Products from the fridge (eggs, butter, milk) slow down the reaction of leavening agents. Cold dough ‘grows’ worse, and gases don’t have time to form a strong structure. So everything should be at room temperature. I always take out the eggs and butter in advance while preparing the bananas and measuring other ingredients.
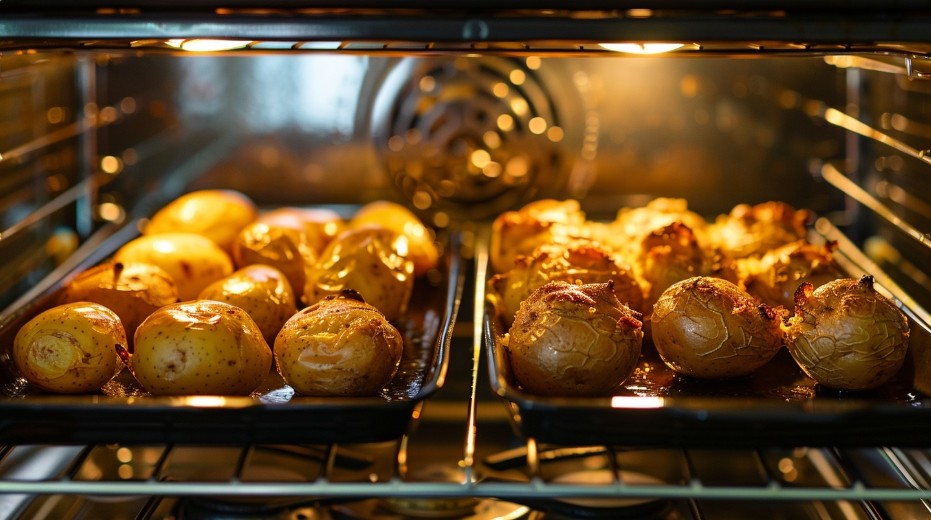
- The oven should be well preheated, at least 10 minutes before baking.
- Cold dough in a cold pan is almost a guarantee of flat baked goods.
- Too high a temperature makes the bread rise sharply, then fall, creating a depression.
I’ve seen how baked goods behave differently in different ovens. On old gas stoves, it’s worth placing the pan on the middle shelf and checking after 30 minutes. In new electric ovens, the temperature control is more precise, but it’s still better to have a separate thermometer. My personal experience: when my temperature regulator broke, I baked ‘by eye,’ and the bread never rose properly. Once I got the thermometer back, everything fell into place.
Visual Signs of Readiness
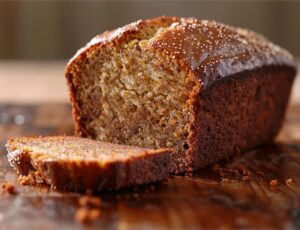
The bread has risen, has an evenly golden crust, and is springy to the touch. If you press with a finger, the indentation quickly disappears. Another test is a wooden skewer: it should come out dry, with at most a few moist crumbs. If the skewer is wet, give it another 5–10 minutes in the oven.
Moisture: Balance of Bananas, Butter, and Milk
The idea of banana bread is its moisture, but it’s easy to overdo it. Bananas of different ripeness contain different amounts of water. Overripe ones are very soft and juicy; slightly green ones are drier. If there are too many bananas, the dough becomes heavy and doesn’t rise well. The same goes for butter: too much melted butter, and the bread ‘flows’ instead of rising. I once added another large banana because it was ‘left over’ and ended up with a solid wet slab.
- Ripe but not overripe bananas are the golden standard.
- Butter is best melted and cooled to room temperature.
- Add milk gradually, controlling the consistency.
If you feel the dough is too runny, add a spoonful of flour. If it’s too thick, a few teaspoons of milk or another banana, but only if it’s not watery.
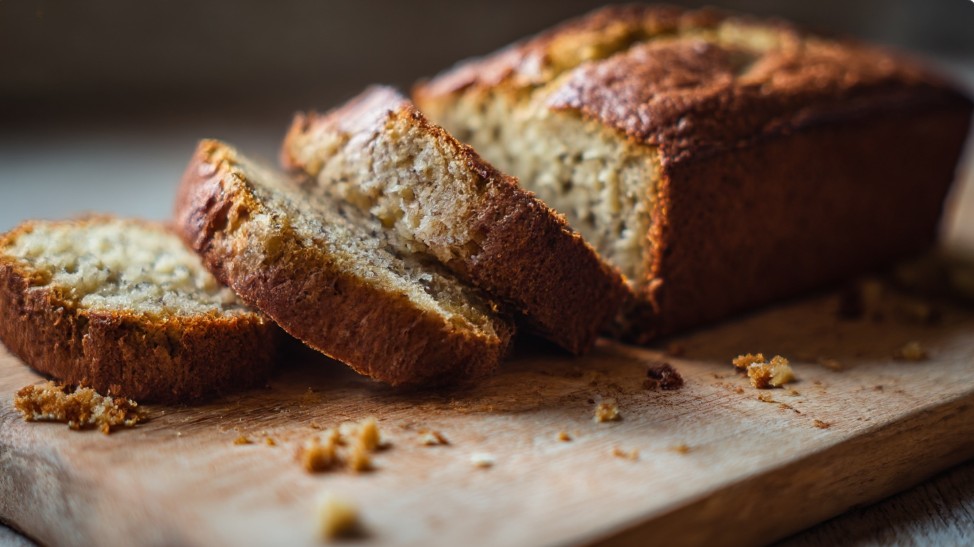
Texture on the Finish
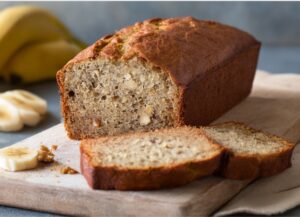
The finished banana bread on the cut is slightly moist but not raw. The air pores should be small and even. If you see large voids or clumped areas, something went wrong with the moisture balance or mixing.
Mixing: When to Stop
Banana dough doesn’t like long intervention. Mixing activates gluten (flour proteins), and if overdone, the bread will be tough, almost ‘rubbery.’ Here, the opposite is true: the less, the better. I always mix the dough with a spoon or spatula until the dry flour disappears. If there are small lumps left, it’s not a problem; they will dissolve during baking.
Tip: If using a mixer, turn it on at the lowest speed and stop immediately after the ingredients are combined.
I once hurried and decided to beat the dough with a mixer ‘for speed.’ The bread rose beautifully but was tough in taste, lacking the fluffy structure we love in banana bread. After that, I always check: mixed and stopped.
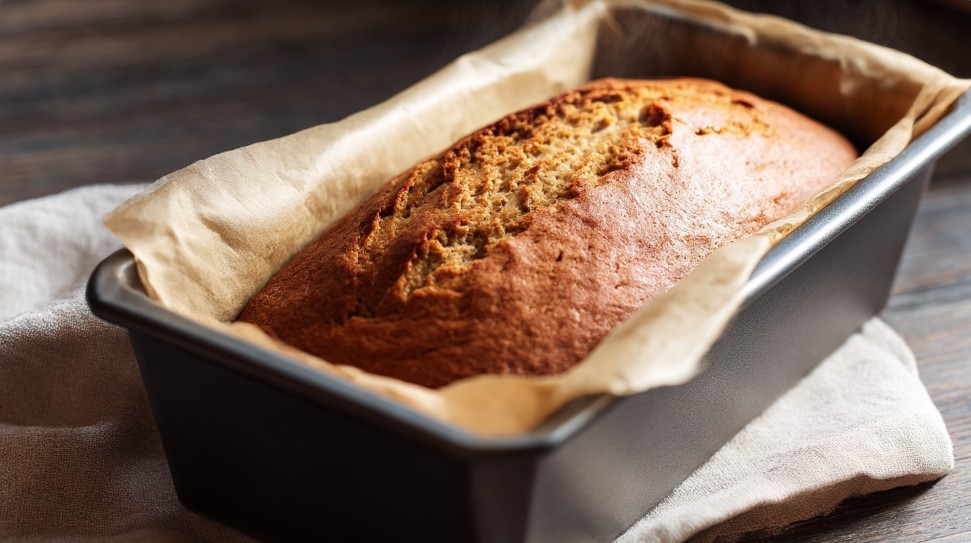
Shape and Height of the Dough: What to Pay Attention To
Banana bread loves its shape — small, with high sides, not too wide. If the pan is too large, the dough spreads out, the layer is low, and there’s no rise. Ideally, fill the pan to 2/3 of its height. This way, the bread has room to grow but won’t overflow.
- Too thin a layer dries out quickly and doesn’t have time to rise.
- Too large a portion of dough, and the top bakes while the center remains raw.
If there’s extra dough left, it’s better to bake a few muffins than risk a high and ‘raw’ center.
Feel with Your Hands
When filling the pan, the dough should be springy, hard to ‘lay’ into place but not spread completely. Smooth the surface with a spatula, but don’t tamp it down — otherwise, you’ll destroy the air bubbles.
Patience: Why You Shouldn’t Rush
Banana bread loves calm and time. Both in preparation and baking. A common mistake is to open the oven too early to ‘check.’ This drops the temperature, and the bread ‘settles.’ It’s best to rely on smell: when the kitchen is filled with a strong banana aroma and the crust turns golden, then check. Even if it seems the bread is ready, it’s better to give it another 5 minutes. I sometimes leave the bread in the turned-off oven with the door ajar — this way, it finishes and doesn’t settle.
- Don’t slice hot bread — let it cool for 20–30 minutes. This way, the texture will set, and the crumb will become tender.
- Rushing in mixing, baking, or slicing almost always leads to a dense, ‘rubbery’ structure.
Patience is not about complexity but about attention. The signals of baking — smell, color, touch — will tell you when it’s time to act.
What to Do If the Bread Didn’t Rise: Analyzing Mistakes and Solutions
Even if everything is done ‘by the book,’ banana bread sometimes behaves unexpectedly. Don’t be upset — it’s another chance to feel the process more deeply. Here are the most typical situations and what to do with them:
- The bread is flat and heavy: check the freshness of the leavening agent, review the proportions of bananas and butter. Next time, add a bit more flour or less liquid.
- The center is raw, the edges are dry: the oven temperature is too high, or the pan is too large. Lower the temperature by 10–15 degrees and try a smaller pan.
- The top swelled and then fell: too much leavening agent, or you opened the oven abruptly. It’s better to add less leavening agent and not touch the oven for the first 30–40 minutes.
- Too moist structure: bananas are too overripe, too much butter. Add flour in small portions to the desired consistency.
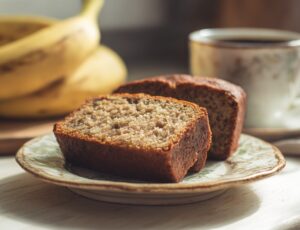
I’ve saved banana bread that didn’t rise well by slicing it thinly and toasting it on a dry skillet — it becomes a real dessert with coffee. But if you want fluffy bread, the most important thing is not to be afraid to experiment and analyze the result.
Common Beginner Mistakes: How to Avoid Them
In short, the biggest problems are rushing, neglecting consistency, and incorrect temperature. Here are some more common mistakes I’ve seen in myself and my students:
- Mixing ‘to perfect smoothness’ — the dough becomes tough.
- Ignoring the ripeness of bananas — too runny or dry dough.
- Incorrect pan — the dough has nowhere to rise.
- Using cold ingredients — reactions in the dough are weak.
When you bake more than once, you start to feel the moment when the dough is perfect: it’s heavy but not thick, shiny, with a bright banana smell. It’s not always easy to describe in words, but when you catch this feeling, the bread always turns out well.
Tip: If you’re unsure about the consistency, it’s better to add another spoonful of flour and let the dough sit for 2–3 minutes. It will ‘mature’ and become more stable.
Tips for a Confident Result
- Weigh bananas after peeling — this way, control over moisture is more precise.
- Use separate bowls for dry and wet ingredients — the leavening agent will distribute evenly.
- A non-stick pan with parchment — the bread comes out easily, doesn’t settle.
- After baking, let the bread cool in the pan for 10 minutes, then transfer to a rack.
- If the bread has settled, toast the slices, add a spoonful of yogurt or nuts, and you’ll be surprised how the taste changes.
With experience, even ‘unsuccessful’ banana bread ceases to be a reason for disappointment. Each time is another attempt to understand how the dough behaves and how to adjust the process to suit yourself.
Why You Should Trust Your Own Feelings
Culinary art is not mathematics. You can follow proportions but still get different results depending on the ripeness of the bananas, humidity in the kitchen, or even your mood. I always advise not to be afraid to experiment: try changing the consistency a bit, play with the temperature, observe the dough. With your hands, a spoon, your eyes. At some point, you’ll start noticing small details: how the dough shines, how it smells, how it lays in the pan. These little things give you real control over the process.
My favorite moment is when the bread is still hot, and the kitchen is filled with a thick banana aroma. You feel you’ve done everything right, not because it’s written in a book, but because you feel it with your whole body. And even if something went wrong, next time you already know how to fix it.
When you understand how each stage works, the fear of ‘ruining’ banana bread disappears by itself. All you need is a little attention, patience, and faith in your own hands. What stories do you have with banana bread? Was there a moment when the dough unexpectedly behaved differently? Share in the comments — I’d love to read about your experiences and little victories in the kitchen.