Homemade Banana Bread vs Store-Bought Loaf Cake
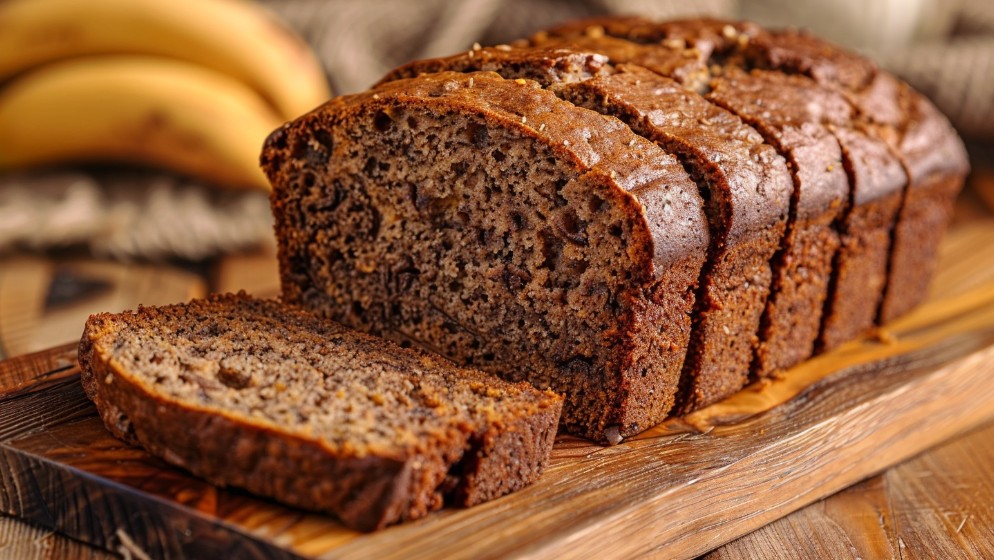
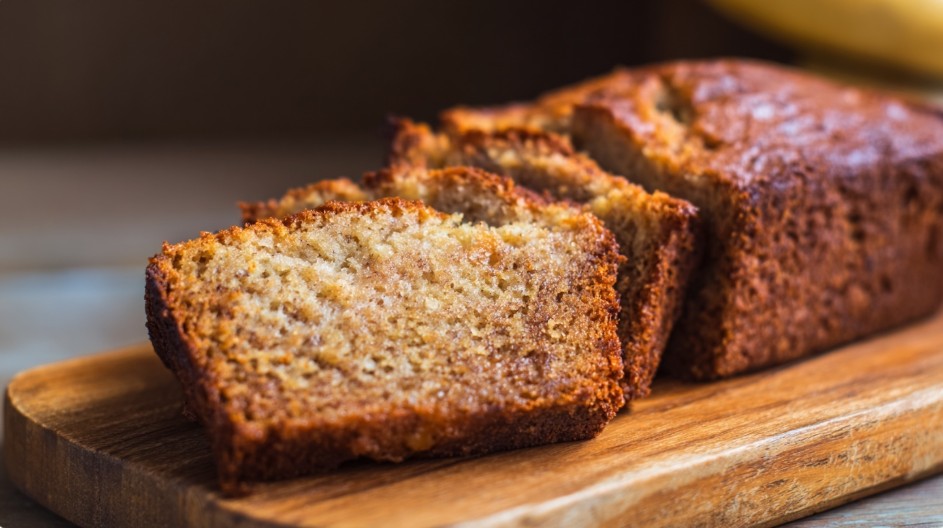
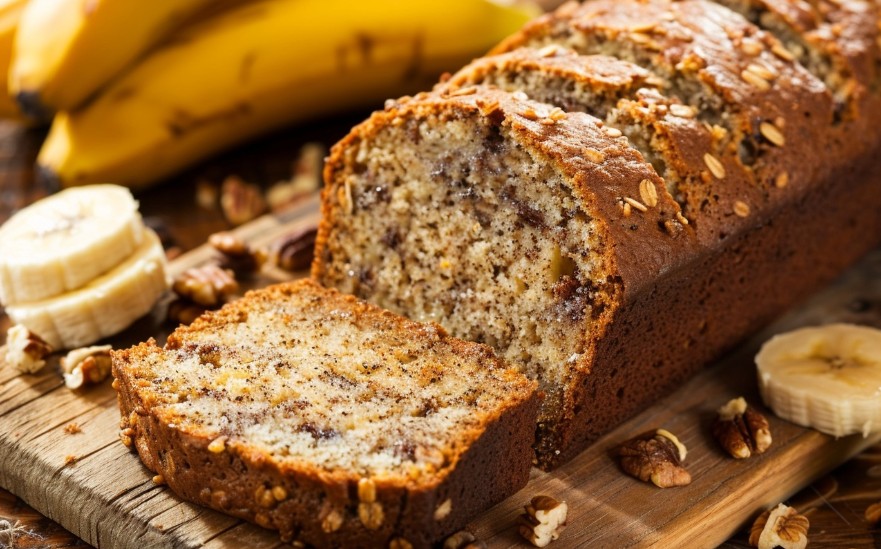
You know how it goes: you pop into the shop “just for milk” and somehow walk out with a loaf cake in a bag. It’s neat, perfectly even, and it smells like vanilla before you’ve even peeled back the wrapper. Slice it and you’re done—zero effort. Meanwhile, at home, a couple of bananas are turning dark on the windowsill, officially past the “for oatmeal” stage. And suddenly you want banana bread—the slightly moist kind with that caramel-banana aroma and a crust that crackles a little when it comes out of the oven.
The problem isn’t that store-bought loaf cake is “bad” and homemade banana bread is “right.” It’s something else: we often confuse flavor with convenience—and we seriously underestimate how much your tools matter. Sometimes the difference between “I love baking” and “I hate the cleanup” isn’t talent. It’s a decent mixer and a loaf pan that doesn’t stick.
I’ve seen the same scene play out in home kitchens more times than I can count: someone wants banana bread, but they’ve got nothing to mash bananas properly, nothing to cream butter and sugar, a flimsy pan that feels like foil, and an oven that bakes “however it feels today.” Then comes the verdict: “Homemade is slow, expensive, and unpredictable.” The truth is a bit more nuanced.
So let’s lay it out: when homemade banana bread genuinely makes sense, what equipment it quietly asks for, what can go wrong, what you can swap in if you don’t want any gadgets, and when grabbing a loaf cake at the store is a perfectly solid choice—no guilt required.
What we’re really comparing: not just flavor, but control and hassle
In a nutshell, homemade banana bread is about control: you decide the sweetness, the moisture, the aroma, the add-ins, the size, the crust. Store-bought loaf cake is about consistency and minimal effort: you get the same product every time, and the only thing you wash is the knife.
When people say “homemade tastes better,” they usually mean a few very specific things that packaged cake rarely delivers:
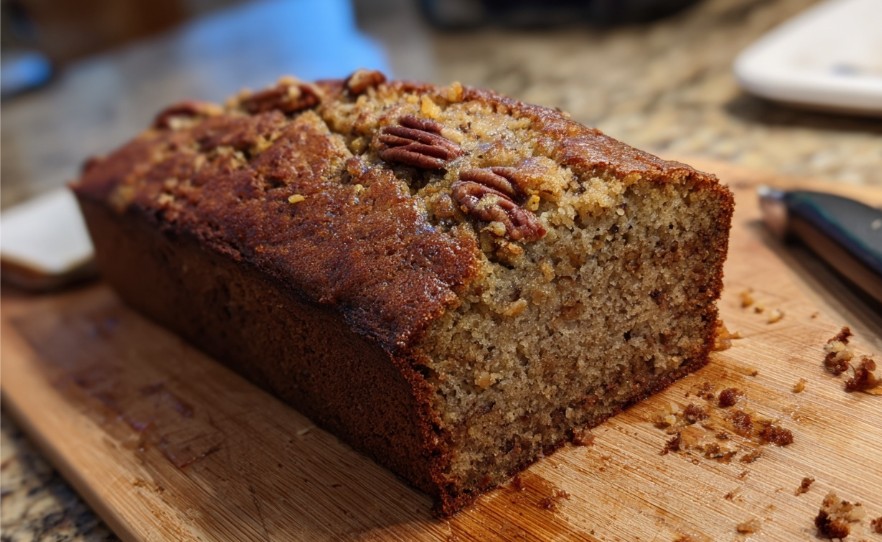
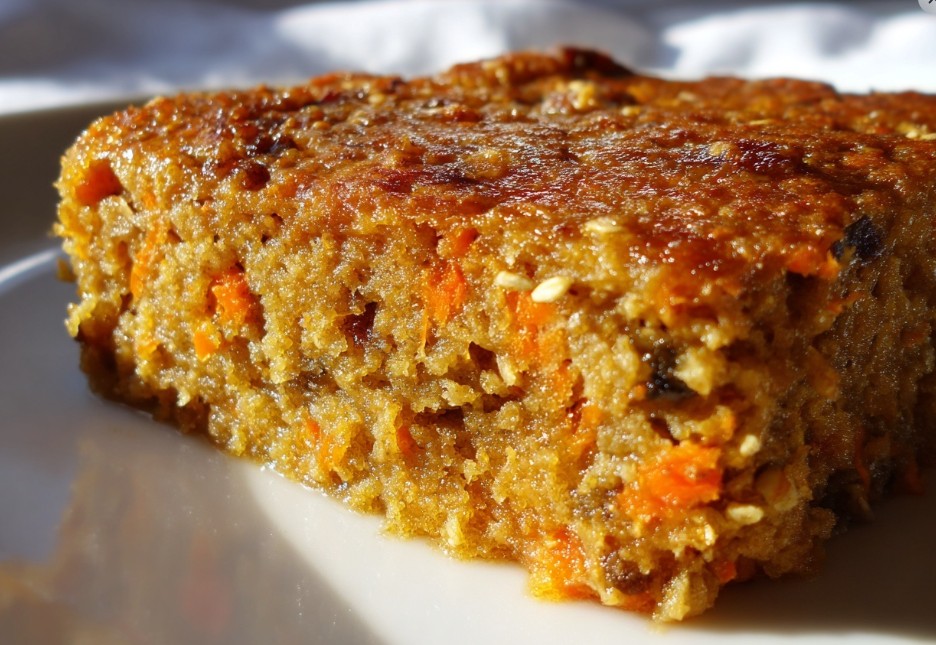
- Aroma — homemade banana bread smells like baked banana, caramel, nuts (if you add them), sometimes a little buttery. Store-bought tends to lean on vanilla flavoring and icing.
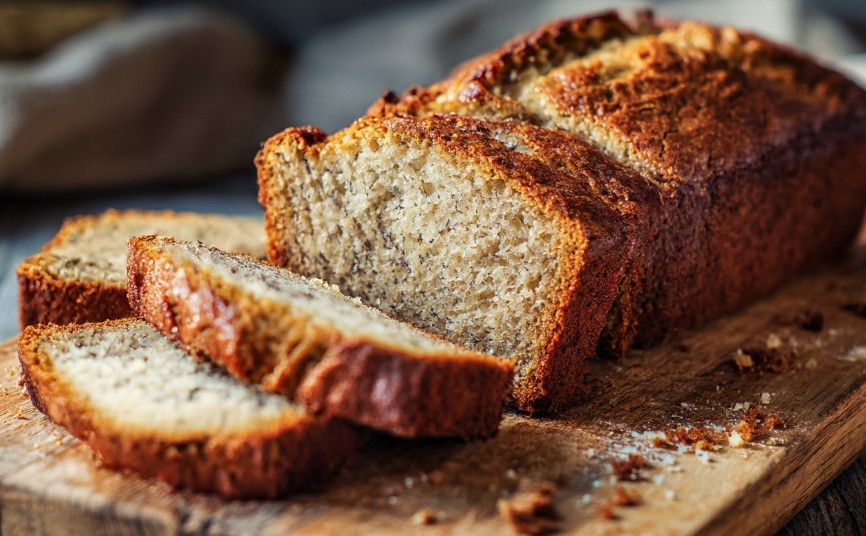
- Texture — banana bread is usually moister and denser, more “loaf-like,” with a springy crumb. Loaf cake is often fluffier, drier, and sometimes crumbles into fine bits.
- Sweetness — at home it’s easy to keep it sweet but not cloying. Store-bought sweetness is often set to “crowd-pleaser” level.
- Freshness — homemade has that just-out-of-the-oven moment: the crust quietly crackles, steam rises, the knife sinks in softly. You can’t really buy that.
But there’s another side to it. Homemade banana bread isn’t only “mix and bake.” It’s also:
- pulling out ingredients;
- prepping the pan;
- mixing the batter (and not overmixing);
- baking (and not drying it out);
- washing bowls/beaters/spatulas;
- cooling it so it doesn’t fall apart when you slice.
When I worked in professional kitchens, it always made me laugh how much we underestimate “washing up” in home baking. That’s often the real reason people go to the store. And that’s fine. It’s just worth being honest with yourself: do you want a warm slice of banana bread with a crisp crust today—or do you want tea and quiet with zero dishes?
The gear that makes banana bread easy (and what you actually need)
Banana bread is one of those bakes that can be “one bowl and a fork.” But that’s only half true. You can do it that way—yet consistency (and your mood) depends a lot on small details.
Bowl, spatula, whisk: the basics people underestimate
I’ll start with the boring one: a good mixing bowl. It doesn’t have to be expensive, but it helps if it’s heavy enough not to skate around the counter, and big enough that you can mix without creating a flour blizzard. A silicone or rubber spatula is for scraping every last bit of batter—one less extra bowl, and less of that feeling you threw away half a batch.
Tip #1: if your bowl slides, set it on a damp kitchen towel folded in half. Tiny move, instantly calmer hands.
How to mash bananas: fork, masher, blender—and why it matters
Most people mash bananas with a fork. It works if the bananas are very ripe: the peel is already dark, the flesh smells like rum and caramel, not “green.” Then a fork turns them into a mash in a minute.
If the bananas are still firm, a fork turns the process into a workout: chunks stay chunky, the batter is uneven, and the baked loaf ends up with little banana “pockets.” Some people love that, some don’t.
- Fork — fine for very ripe bananas and small batches.
- Potato masher — my favorite underrated tool. Fast, no splatter, easy to wash.
- Immersion blender — gives a smooth purée, but it’s easy to take it too far into “liquid,” plus you have a blade and beaker to wash.
- Blender — makes sense if you’re already using it for something else (smoothies, sauce). For two bananas alone, it’s extra hassle.
Tip #2: if your bananas aren’t ripe but you want banana bread now, I sometimes bake the bananas in their skins for 10–15 minutes in a hot oven. They darken, soften, and get more fragrant. Cool them, snip off the end, and squeeze the flesh out like a paste.
Mixer or not: when it actually matters
You can mix banana bread without a mixer. But if you’re making a version where butter is creamed with sugar until light, a mixer makes life much easier. A hand mixer is usually plenty. A stand mixer is comfortable, but not “required.”
When you don’t need a mixer: if you’re using oil or melted butter and simply combining wet and dry ingredients. There, not overmixing matters more than “beating well.”
When a mixer saves the day: if you want a lighter crumb and don’t want to stand there whisking for 7 minutes. I’ve watched people give up at the “cream the butter” stage—that’s exactly where a tool turns baking from a chore into something you’ll actually do again.
The loaf pan: where half the result is decided
Your pan isn’t just a “container.” It decides how the batter heats up, whether the crust looks good, and whether the center bakes through.
- Metal pan — bakes more aggressively and gives a more defined crust. If your oven runs hot, the edges can dry out.
- Glass — heats more slowly but holds heat. Risk: the top is already dark while the middle still wobbles.
- Silicone — easy release, but often a paler crust and longer bake time. I like silicone for delicate cakes; for banana bread, not always.
One more thing: thin, lightweight pans can be unpredictable—batter may burn on the bottom or, наоборот, take forever to bake through. A heavier pan with thicker walls usually gives a steadier result.
Tip #3: if your pan tends to “overbake from the bottom,” set it on an empty baking sheet. It works like a heat shield so the base doesn’t get blasted directly.
Your oven vs reality: why homemade sometimes loses to the packaged one
Store-bought loaf cake is made under controlled conditions: temperature, time, humidity, production line. At home, your oven has a personality. If your banana bread comes out raw one time, dry the next, or cracks like a volcano down the middle—this isn’t always about your hands.
An oven thermometer: boring, but it saves your nerves
I’m not a fan of buying gadgets “just in case,” but an oven thermometer is one of the few that actually explains the universe. A lot of home ovens lie by 10–30 degrees. For loaf-style bakes, that’s the difference between a moist crumb and dry crumbs.
I had this happen with a friend: she swore she baked “exactly at the stated temperature,” yet her banana bread was always dark and dry. We put in a thermometer—her 180°C on the dial was nearly 210°C inside. She simply lowered the temperature and the problem disappeared. No magic, no new recipe.
Convection, top/bottom heat, and “hot spots”
Convection (fan) dries the surface more aggressively. For banana bread that can be great if you love a pronounced crust. But if the top browns too fast, bake without the fan or lower the temperature.
“Hot spots” are areas where your oven runs hotter. You notice it with cookies: one side browns more. Banana bread reacts too—it can rise unevenly, crack on one side, or burn in a corner. The fix is simple: rotate the pan 180° halfway through baking. Not every 5 minutes—once is enough.
Tip #4: if the top is already dark but the center isn’t done, tent the top loosely with foil (don’t press it down). It stops extra browning and gives the middle time to finish baking.
Time, money, ingredients: when homemade is worth it—and when the store is the honest choice
I love home baking, but I’m not going to pretend it’s always “more economical.” Value here isn’t only about money—it’s time, electricity, fatigue, and yes, the washing up.
When homemade banana bread makes sense
There are situations where baking banana bread at home is a bullseye:
- You need to use up bananas. The most honest reason. Bananas are overripe—and you turn them into something you actually want to eat.
- You want control: less sugar, more nuts, no raisins, extra cinnamon, dairy-free—whatever. You make it your way.
- You need a bigger batch. One big loaf for the family can be easier than buying a few small cakes.
- You have real kitchen time. Not “squeeze it in between calls,” but actually mix, bake, tidy up without rushing.
A tiny real-life story: I once baked banana bread in an apartment where the oven was a full-on surprise—its door wouldn’t close tightly. I wedged in a wooden spoon to keep it shut, and the temperature still drifted. The loaf wasn’t perfect, but the smell was so good the neighbor knocked and asked if I was making “coffee with cinnamon.” Homemade baking sometimes gives you that bonus: the smell of home. Packaged cake doesn’t really do that.
When store-bought loaf cake is a perfectly fine choice
And now, honestly, when it’s better to buy:
- You’re tired. If the thought of washing a bowl already annoys you—buy the cake. That’s not a failure.
- You need it fast and low-risk. Guests in 20 minutes, early morning for work, a road trip—store-bought solves the problem.
- You don’t have the basics (a pan, a workable oven, at least one decent bowl). You can improvise, but the result becomes a lottery.
- You don’t want sweets hanging around. Homemade banana bread is tempting: one slice becomes another. Store-bought often has a built-in “stop” (packaging, portioning, psychology).
I like thinking of it as tools. Store-bought loaf cake is like a ready-made sauce: sometimes it saves dinner. Homemade is like a sauce you made yourself: it can be better, but it asks for time and attention.
Common mistakes: why banana bread turns out “not right” and how your tools can sabotage you
Here are the mistakes I see most often. Some are technique, but a lot come down to tools and small decisions.
Mistake 1: “The bananas are still fine”
For banana bread, “fine” is exactly what you don’t want. You need very ripe bananas. If a banana smells fresh and holds its shape, you’ll get less flavor, less sweetness, and a weaker aroma. You can compensate with sugar, but it’s not the same.
Mistake 2: you overmixed the batter with a mixer
Once flour goes in, it’s tempting to keep the mixer running—after all, that’s what it’s for. But for loaf-style batters, overmixing makes the crumb rubbery. A stand mixer makes it especially easy to go too far.
Tip #5: this is my routine: mix everything wet with a whisk or mixer. Add flour, then switch to a spatula. A few strokes until the dry patches disappear, then stop. The batter doesn’t have to look perfectly smooth—that’s fine.
Mistake 3: using the pan without prepping it
Even nonstick pans sometimes “remember” past bakes. A thin layer of grease plus parchment on the bottom often makes life easier. The worst is when the loaf sticks, you start digging it out, and it breaks while it’s hot. Mood: straight into the trash.
Mistake 4: checking doneness the wrong way
A skewer test is classic, but banana bread is naturally moist. The skewer can come out with a few damp crumbs and that’s okay. If it comes out with wet batter, it’s too early. If it’s bone-dry, there’s a chance you’ve already overbaked it.
Mistake 5: slicing it while it’s hot
This one hurts, because the smell makes you want to cut in immediately. But hot banana bread is still “setting” inside: steam is escaping and the structure is stabilizing. Slice too soon and the crumb can smear and look underbaked even when it isn’t.
Quick story: I once rushed out the door and cut a slice straight from the pan while it was still almost hot. Delicious, yes—but the texture was like warm porridge. An hour later, the same loaf sliced perfectly with nice, even pores. Since then, I always give it at least 30–40 minutes if I want clean slices.
What to use instead of gadgets if you don’t want to buy anything
I don’t love the “no gadget, don’t bake” mindset. Home kitchens are built on workarounds. They just sometimes take longer or give a slightly different result.
No mixer
Grab a whisk and a bit of patience. If the butter is soft (not melted—soft), you can cream it with sugar using a spoon or spatula until it’s reasonably smooth and creamy. It won’t be as airy as with a mixer, but banana bread doesn’t need to be sponge cake.
No loaf pan
You can bake it in a round cake pan, a small oven-safe pot, even a deep skillet that can go in the oven. The only catch: the batter depth changes, so the bake time changes too. Here you watch and smell: the aroma gets more nutty and caramel-like as it nears doneness, and the top springs back with a light press.
No kitchen scale
Measuring cups/spoons work too, but flour is easy to overdo: scoop a heaping cup and suddenly it’s dry. If you’re measuring by cup, I always suggest spooning flour into the cup and leveling it with a knife, rather than digging the cup into the bag. Small detail, big texture difference.
No parchment paper
Then grease the pan well and dust it with flour or cocoa powder (cocoa is actually lovely with banana). Not perfect, but it saves the day.
Washing up, storage, longevity: the everyday side everyone forgets
As a chef, I can talk aroma and crumb for hours. At home, something else matters more: where all this stuff lives, how fast it washes, and whether it starts annoying you after a month.
Where to store tools so they help instead of getting in the way
A hand mixer often lives in a box on the top shelf, which makes getting it out a whole event. If you bake once a week, fine. If you bake more often, I like keeping it in an easy-to-reach drawer near the whisk and spatula. Then “I’ll make banana bread” doesn’t feel like a major project.
Same with an immersion blender. If it’s split into three parts and each part is in a different place, you’ll reach for a fork instead. Sometimes that’s good—but the choice should be yours, not dictated by cabinet chaos.
Washing up: what actually drives you crazy—and how to make it easier
The most annoying parts are the small ones: mixer beaters with batter stuck in the crevices, a blender blade you don’t want to touch with a sponge, pans with baked-on edges.
- I soak mixer beaters in warm water immediately. Not “later”—immediately. Ten minutes later, everything rinses off twice as easily.
- After bananas, I rinse the immersion blender right away under the tap, then “blend” it for 10 seconds in a beaker of warm water with a drop of dish soap. It removes the sticky film.
- I don’t scrape pans with metal. If something sticks: warm water, 15 minutes, and a soft sponge.
Tip #6: if you know cleanup will ruin the whole vibe, make banana bread as close to “one bowl” as possible: mash bananas, add wet ingredients, then dry—done. Fewer dishes = higher chance you’ll do it again.
Storing banana bread (and how tools help)
Homemade banana bread is often even better on day two: deeper aroma, more even crumb. But the edges can dry out. A simple fix is a sealed container, or wrapping it well in paper/plastic wrap. If you want that “fresh-baked” feel back, warming a slice briefly brings back softness and smell.
Another quick story: I once left banana bread on a board under a towel, thinking “that’s fine.” By morning the edges were as dry as an old loaf cake. Since then: container or a tight wrap. Homemade baking doesn’t have preservatives, and you notice it not only in taste, but in how it behaves.
How to choose tools that fit your life: no “must-haves”, just common sense
I’m not going to tell you to buy half a kitchen for the sake of banana bread. Better to understand your routine and choose the minimum that removes the biggest pain point.
If you bake rarely (once a month or less)
I wouldn’t run out for a stand mixer. You really just need:
- one large bowl that doesn’t slide;
- a good spatula;
- a pan you can trust (one good one beats three “meh” ones).
Mash bananas with a fork or a potato masher. A hand mixer is optional—nice if you like a lighter crumb and don’t want to fuss.
If you bake often (once a week or more)
Here, tools pay off not in money, but in your willingness to keep going. I’d look at:
- a hand mixer with decent beaters (easy to wash);
- two pans: one standard, one slightly smaller or a different shape—so you’re not stuck with one size;
- an oven thermometer if your oven has a mind of its own.
Tip #7: I like having one “banana bread pan” that I don’t mind greasing and lining with parchment. When you have only one pan and you treat it like it’s “for special occasions,” you bake less. Sounds backwards, but it’s real.
If your kitchen is small
Then every gadget should either do multiple jobs or be compact. In a small kitchen, a hand mixer often makes more sense than a big stand mixer. An immersion blender also beats a countertop blender for space and faster cleanup.
If you boil it down: homemade banana bread wins when you care about aroma, a moist crumb, and making it “the way I like it,” and your tools don’t turn the process into a fight. Store-bought loaf cake wins when you need speed, predictability, and zero dishes.
What’s your default—“bake because there are bananas,” or “buy it and don’t think about it”? And what stops you most: the oven, the washing up, or the feeling that the result is unpredictable?