Banana Bread Without a Mixer: Is It Actually Possible (and How to Do It)
Banana bread can feel like “baking for people who have their life together”: you need a mixer, you need a proper loaf pan, you need that quiet confidence that the batter will behave. Meanwhile you’re standing in the kitchen with two overripe bananas, a fork, and a tiny bit of panic: I’m going to ruin it, it’ll turn gluey, it won’t rise, it’ll be rubbery.
I remember that feeling really well. The first banana bread I baked at home without any gadgets wasn’t so much about flavor as it was about control: learning to read the batter with my hands, my eyes, my nose. A mixer can hide mistakes—it “smooths everything out.” Without it, you actually have to understand what you’re doing.
Here’s the good news: banana bread without a mixer isn’t just possible—it often turns out even more tender. What matters here isn’t “mixing power,” but order, temperature, and knowing when to stop. If you want a first win without pressure, this is it.
Why banana bread works without a mixer
In most homemade cakes and quick breads (the kind that rise with baking powder or baking soda—not yeast), a mixer isn’t the “heart of the process.” Its job is simply to combine ingredients quickly. But “combine” doesn’t mean “beat into a perfectly smooth, glossy paste.”
Banana bread stands on three pillars: the moisture and sweetness of bananas, fat (butter or oil), and chemical leavening (baking powder and/or baking soda + some acidity). None of that requires the long whipping you’d do for a sponge cake, where you’re trying to trap air. Here, lift comes from the reaction in the batter and from steam in the oven.
One more thing: a mixer makes it very easy to overwork flour, which can turn the crumb dense. A fork, whisk, or spatula is slower—and that can actually save you. Lower risk, better texture.
A tiny story from my kitchen
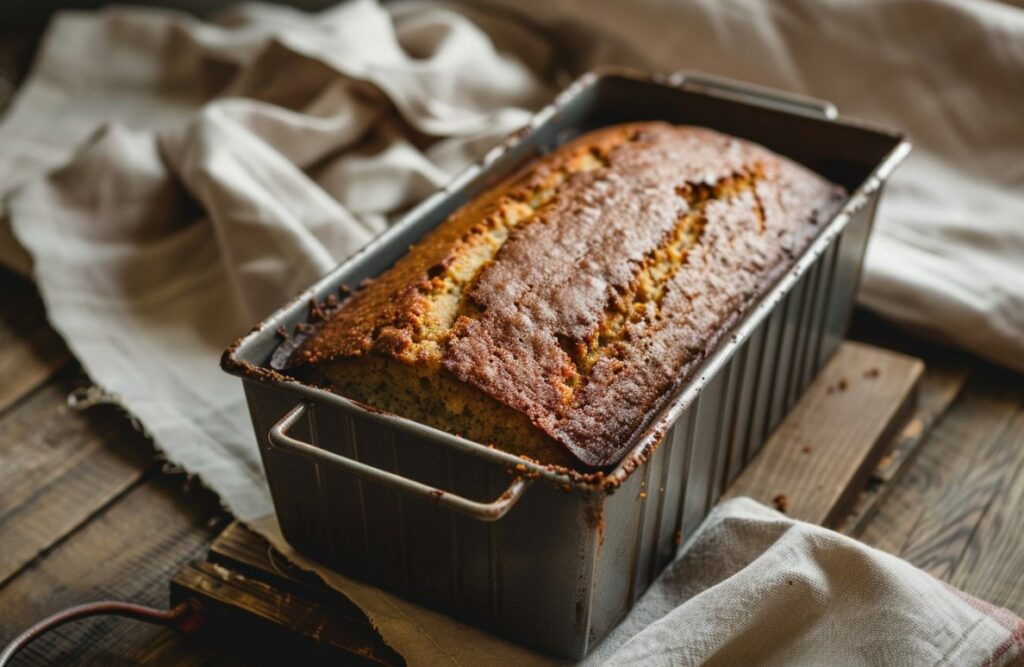
Years ago I baked banana bread in a rented apartment. Tools on hand: a bowl, a fork, an old wooden spoon, and a loaf pan that had clearly seen things. I thought, “Well, this is going to be a brick.” Instead I got a genuinely nice crumb—slightly uneven, with little banana pockets—but the aroma was so good the neighbors “popped in for a minute.” That’s when it clicked: it’s not about equipment, it’s about timing and feel.
Tools that genuinely replace a mixer (and how to use them)
You don’t need to buy anything special. A few small choices just make the whole thing calmer.
- Fork — for the bananas. It won’t turn them into silky purée, and that’s fine: tiny pieces add juiciness and that unmistakable banana aroma.
- Whisk — for eggs with sugar/fat if you want a slightly more even structure. Not for “stiff peaks,” just to bring things together.
- Silicone spatula or spoon — for the final mix once flour goes in. A spatula is especially good because you can fold rather than stir aggressively.
- Two bowls — one for wet, one for dry. Not a fancy step: it reduces the temptation to overmix and end up with a rubbery loaf.
- Sieve (optional) — not for looks, but to loosen the flour and distribute baking powder/soda evenly. No sieve? Whisk the dry ingredients really well.
Tip #1: no whisk? Use a fork. Just keep the bowl steady (set it on a damp kitchen towel) so your hand doesn’t tense up—and you don’t start “hammering” the batter out of nerves.
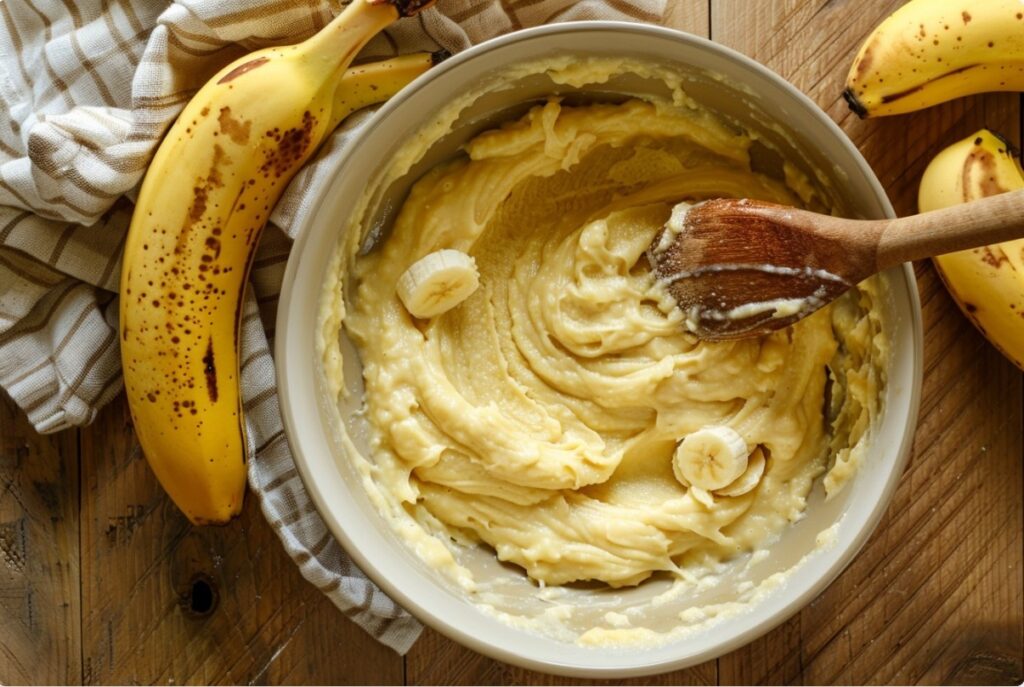
Batter mechanics: what’s happening when you stir with a fork
This is where you get real control. Banana bread isn’t “kneading,” it’s quick combining. The most common mistake is trying to make the batter perfectly smooth. It shouldn’t look like a flawless, creamy sauce. It should be thick and heavy, slowly sliding off a spatula, with a couple of small floury lumps that disappear in a few more folds.
When flour meets moisture, gluten starts to develop. That’s great for yeasted bread, where you want elasticity and structure. But in banana bread, too much gluten gives you that “rubbery cake” effect—stringy, dense, and somehow still feeling underbaked even when it’s not.
So the rule is simple: the fewer strokes after adding flour, the more tender the loaf. A mixer does hundreds of strokes a minute. A spatula does dozens. That’s your advantage.
How it should look vs. what people often do
- How it should be: mix dry and wet separately, then combine quickly; the batter is a bit rustic but there’s no visible “dust” of dry flour.
- What people often do: dump everything into one bowl and stir forever “so there are definitely no lumps.”
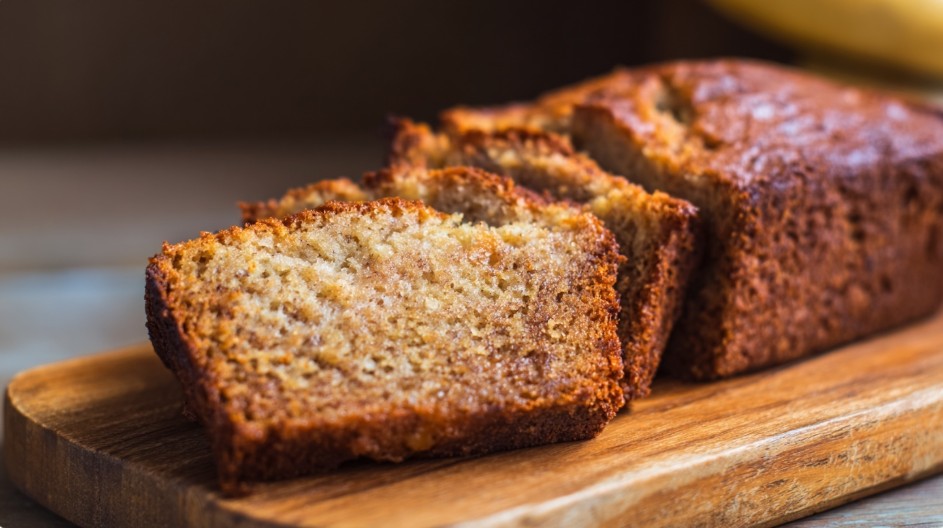
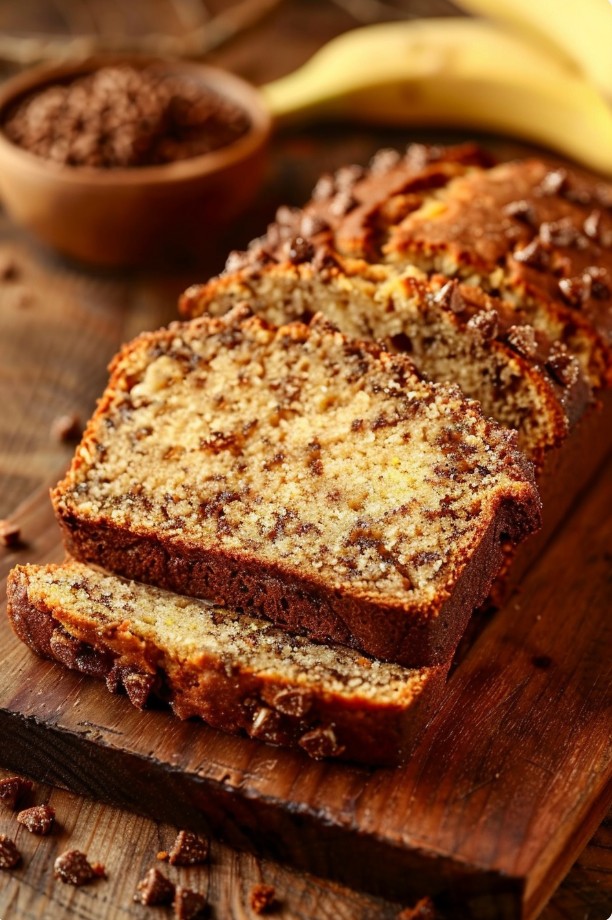
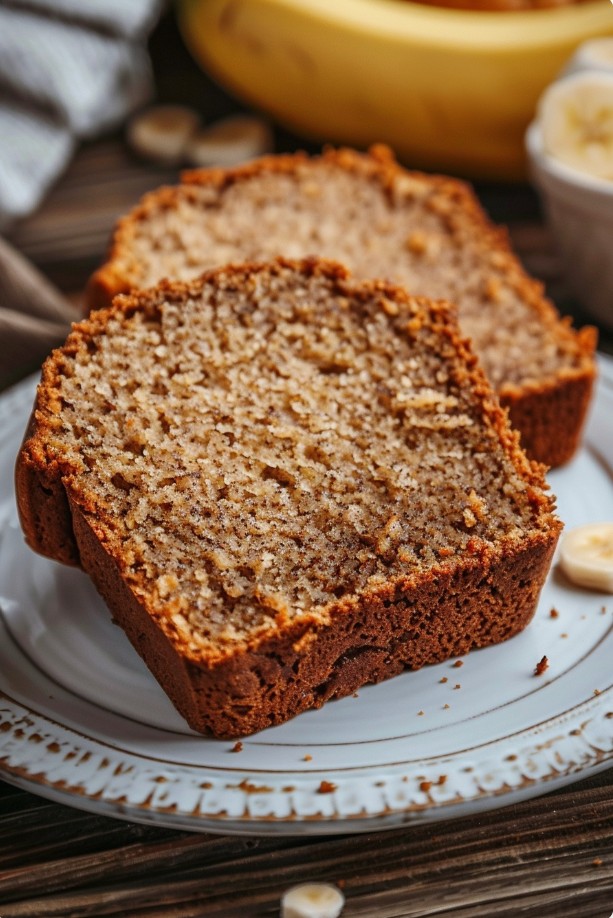
In the first case, the crumb is tender with small air pockets and a big banana aroma (honestly, it can smell like vanilla even if you didn’t add any). In the second, it’s tight, with big cracks on top and that slightly gummy chew.
I go by one simple signal: as soon as the batter is uniform enough that there are no dry patches of flour, I stop. Even if I can still see a couple of small lumps. They’ll sort themselves out in the oven.
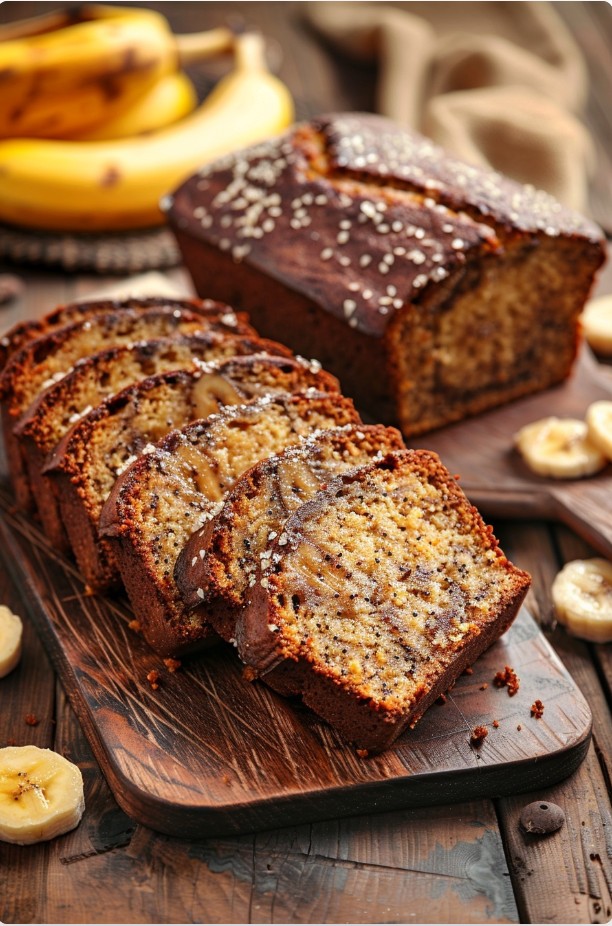
Bananas: which ones to use and how to mash them so it’s flavorful, not watery
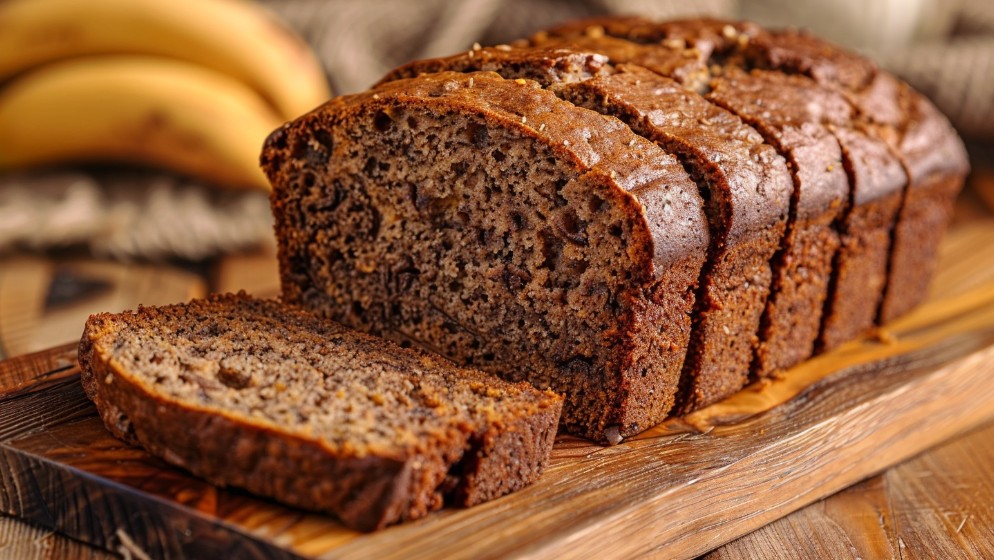
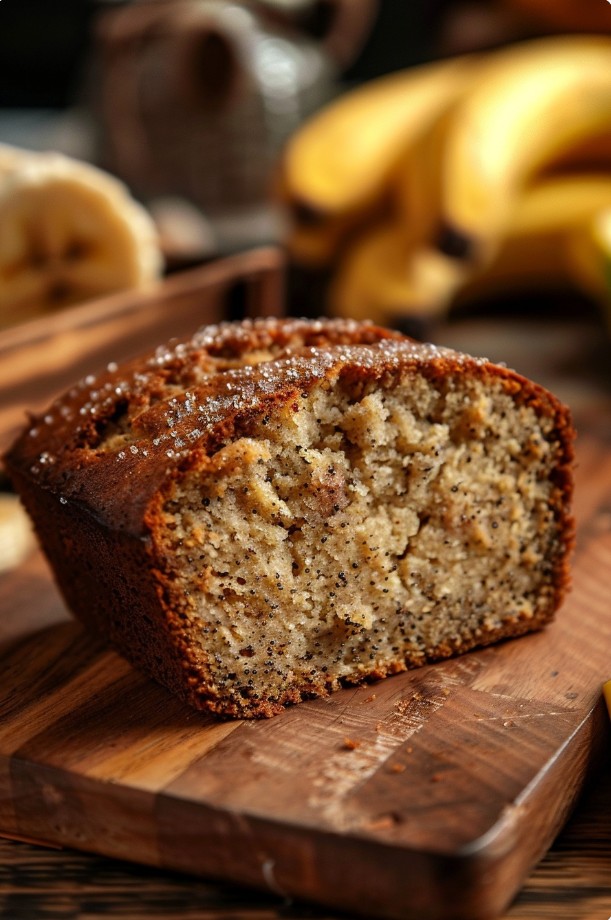
This is where beginners tend to spiral: “What if the banana is too black? What if it’s still yellow? What if I don’t have enough?” Banana bread loves overripe bananas—the ones that smell sweet even through the peel, with lots of dark speckles. That’s when starch has turned into sugar, and the flavor gets deeper.
But “overripe” doesn’t mean “fermented.” If your banana smells boozy, sour, or just off, don’t push it. The batter can behave strangely, and the aroma won’t be cozy—it’ll be sharp.
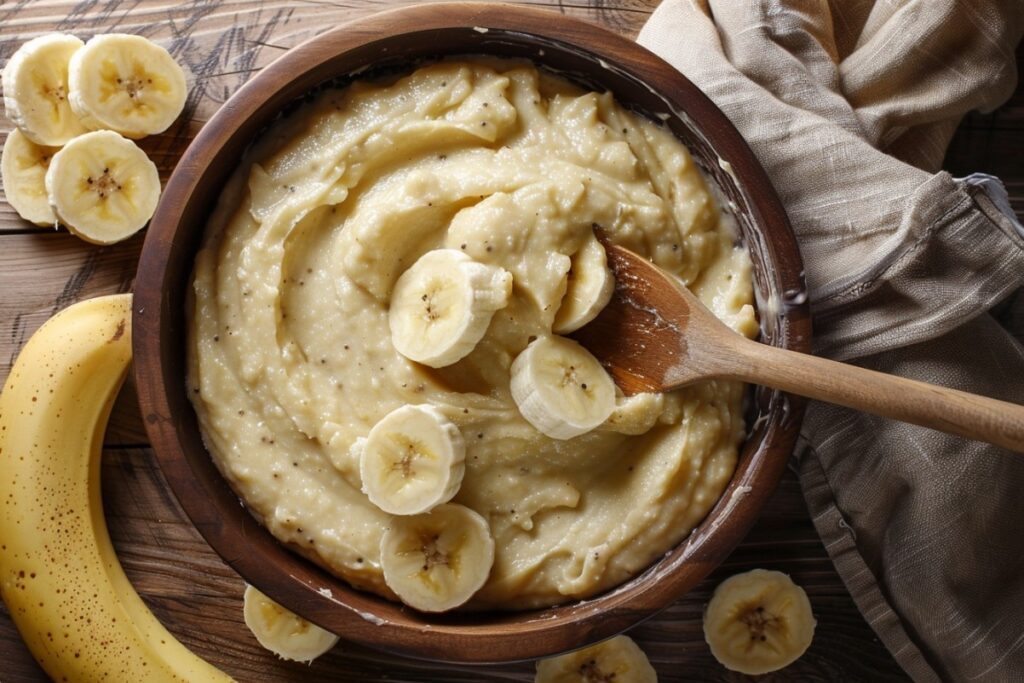
Purée texture: smooth or chunky?
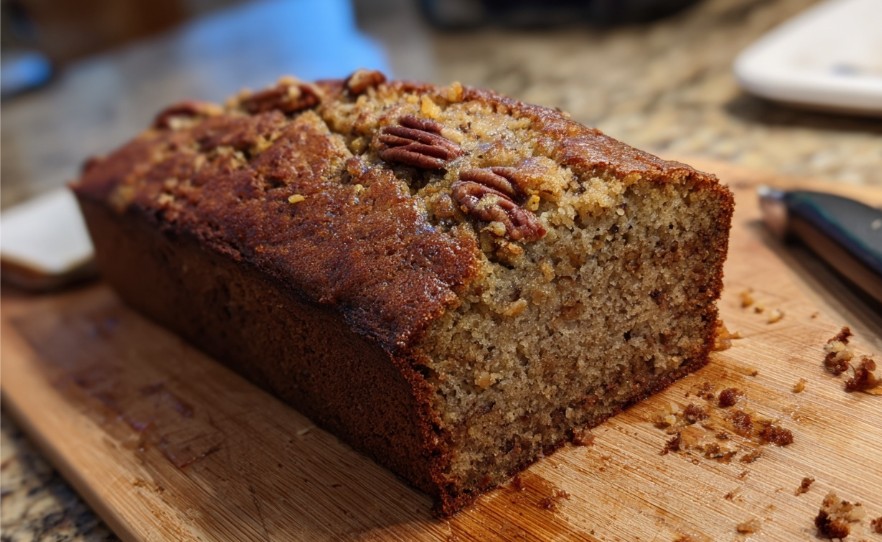
I like the middle ground: mash with a fork so you still have small lumps. They turn into sweet, moist little pockets in the crumb. If you go completely smooth, the loaf is more even—but the center can sometimes read a bit “pudding-y.”
Tip #2: if your bananas are huge and super juicy, mash them and let them sit for 5 minutes. If you see a lot of liquid pooling, just stir it back in and resist adding extra liquid to the batter (the classic trap is pouring in milk “because it looks thick”).
A tiny story about “borderline” bananas
Once I found three bananas in the corner of a fruit basket that looked like horror-movie props: black, soft, basically collapsing. I was ready to toss them, but I split one open—inside it was just very ripe, no sourness. In the batter it gave off a caramel-y smell, almost like toffee. Since then I’m not afraid of a dark peel. I’m only afraid of a bad smell.
Baking soda, baking powder, and acidity: why it rises without whipping
This is the “magic” worth understanding. When you’re not whipping, you’re not mechanically forcing air into the batter. The rise comes from gas created in the batter (plus steam in the oven).
Baking powder usually contains both an alkaline component and an acid, designed to react with moisture and heat. It’s more predictable for beginners. Baking soda needs an acid in the batter (buttermilk/yogurt, lemon juice, sometimes banana acidity is enough—but not always). If there isn’t enough acid, soda can leave a soapy/alkaline aftertaste and a darker crumb.
I’m not going to throw exact grams at you without a recipe, but here’s the behavior to watch: if you’re using baking soda, don’t let the batter sit around. The reaction starts right away, and the gas that should lift your loaf in the oven can escape into your kitchen instead.
Signs your leavening is working
While mixing, you might notice a faint fizzing or tiny bubbles if soda meets acid. Totally normal. In the oven, banana bread often cracks down the middle—also normal. The batter rises, the top sets, and then steam and gas push through. That crack isn’t failure; it’s personality.
Tip #3: if baking soda makes you nervous, use baking powder—or a combo (mostly baking powder + a small pinch of soda). The flavor stays cleaner and the rise is steadier.
Temperature, oven, and pan: how to avoid a raw center and dry edges
In a home kitchen, the biggest troublemaker usually isn’t the batter—it’s the oven. It can heat unevenly, run hot from the bottom, or be a bit sluggish. Banana bread is thick and moist, so it needs time for heat to reach the center.
I don’t bake by minutes; I bake by doneness cues. The same amount of batter bakes differently depending on the pan: a narrow, tall pan takes longer; a wider one bakes faster.
What to watch (and smell) while it bakes
- In the first 15–25 minutes, the batter rises actively; the surface looks glossy and almost “alive.”
- Then the top starts to turn matte, and you get a clear banana-and-caramel aroma.
- Toward the end, the smell becomes more “bready” and warm, without that raw flour note.
If your oven browns hard on top, the surface can darken before the center is baked through. Classic. Tent the top with foil (don’t press it onto the loaf—think of it like a little roof) so it doesn’t burn while the middle finishes.
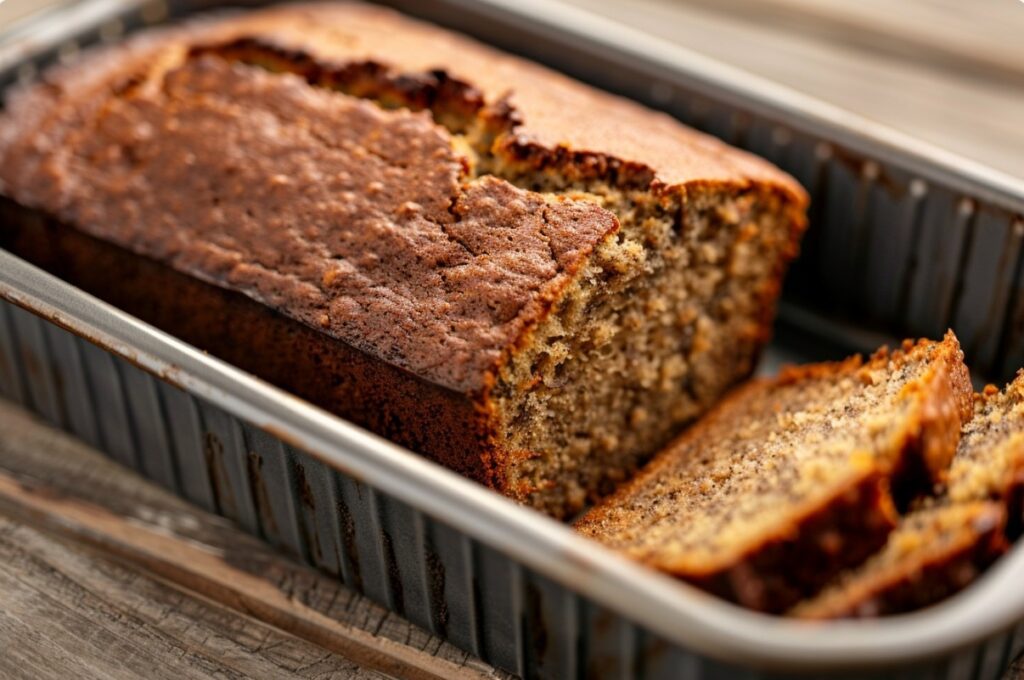
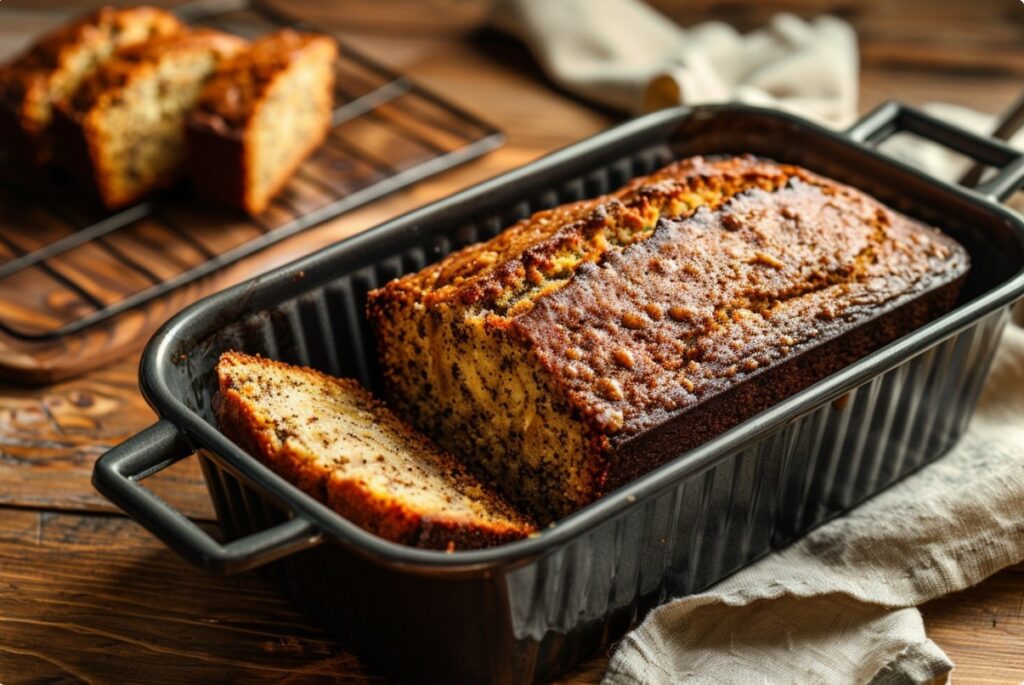
Pan type and crust color
A dark metal pan bakes more aggressively—darker crust, edges set faster. A light-colored pan or glass bakes more gently but may need a bit more time. Silicone often gives paler sides and holds moisture longer—sometimes that’s a plus, sometimes it’s a minus if you love a pronounced crust.
Tip #4: if your pan is tall and you’re worried about a raw center, place it on the middle rack and don’t open the oven for the first 35–40 minutes. Opening early is a common reason for a sinkhole: hot air escapes, the structure is still weak, and the top collapses.
Common no-mixer mistakes: what goes wrong and why
Without a mixer, mistakes are more obvious—and that’s a good thing. You learn faster. Here’s what I see most often when people make banana bread “with a fork.”
1) Mixing until perfectly smooth
What it looks like: the batter stretches, turns glossy, and feels springy—like thick glue. The baked crumb is dense and a bit stringy.
Why it happens: too much gluten development.
What you want instead: thick batter that drops off the spatula; it shouldn’t “pull” in long strands.
2) Bananas were very wet… and you added more liquid
What it looks like: the center takes forever to bake; even after cooling it feels like “wet batter.”
Why it happens: the bananas already brought plenty of moisture, and you tried to “loosen” the batter.
What I do: I’d rather accept a thicker batter and leave it alone. Banana bread shouldn’t be runny like crepe batter.
3) Cold eggs/cold butter + rushing
What it looks like: the fat stays in tiny lumps, the batter looks uneven, and the baked loaf can have “wet patches.”
Why it happens: cold fat doesn’t blend well with the rest without proper mixing.
Tip #5: take eggs out ahead of time, or warm them for a few minutes in warm water (in the shell). Melt the butter and let it cool slightly so it’s warm, not hot.
4) Too much baking powder/soda “just to be safe”
What it looks like: the loaf shoots up and then sinks; the flavor can turn alkaline and the aroma a bit “chemical.”
Why it happens: gas forms too quickly, the structure can’t set in time; plus leftover alkalinity tastes off.
What you want instead: an even rise (no giant dome) and a clean flavor.
If something goes sideways: saving texture and flavor
The worst feeling is pulling out the pan and realizing it’s either raw, dry, or collapsed. I love banana bread partly because it’s forgiving—and you can often rescue it with simple moves.
If the top is already dark but the middle is raw
That means the surface got too much heat, and the center didn’t get enough time. Do this:
- Tent the top with foil like a roof (don’t press it onto the loaf).
- Lower the oven temperature by 10–20°C and keep baking.
- Check doneness with a skewer/knife, not by color: it should come out without wet batter (crumbs are fine).
One more thing: once it’s out, don’t slice immediately. The inside is still finishing from residual heat. Cut it hot and the center will seem rawer than it really is.
If the loaf sank in the middle
There are a few possible reasons: you opened the oven too early, used too much leavening, or the center simply didn’t bake through so the structure couldn’t hold. What to do now:
- If it’s still warm and clearly underbaked, put it back in the oven (foil helps).
- If it’s already cool, treat it as a “moist middle.” Slice thicker. It often still tastes great.
For next time, one simple fix helps: reduce added liquid (if you used any) or use a wider pan so the batter layer is lower.
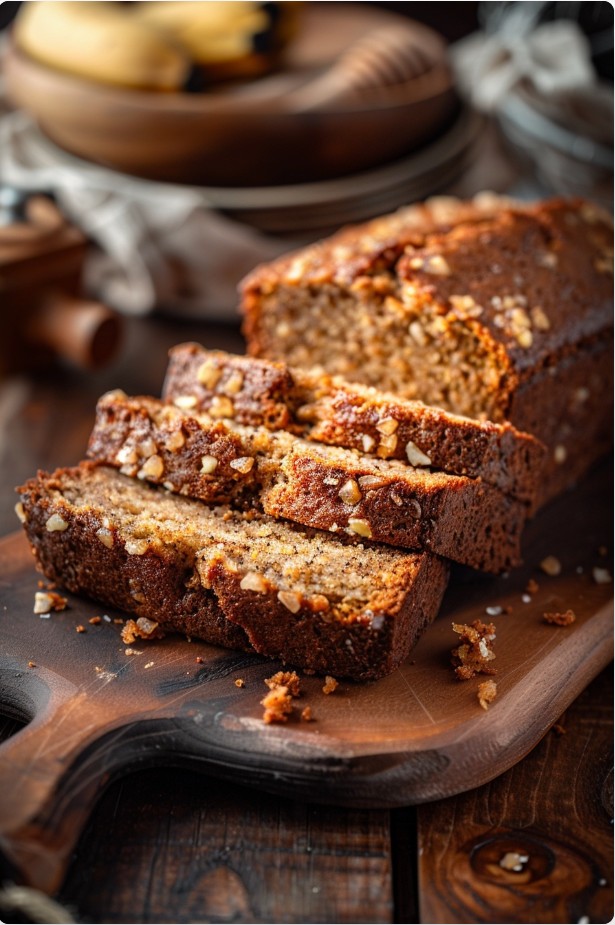
If it’s dry and crumbly
Usually that’s overbaking, or not enough banana/fat. But even dry banana bread can be made pleasant:
- Let it cool completely and wrap it overnight—moisture redistributes and it crumbles less.
- Slice thinner: a thin slice reads softer on the palate.
And yes, I’ve dried out a banana loaf so badly it sounded like a rusk when I cut it. The next day it softened up—not a miracle, just moisture migration. So don’t write it off too fast.
If you can taste baking soda
That usually means there was too much soda, or not enough acid to neutralize it. It’s hard to truly fix in the finished loaf, but you can soften the perception with how you serve it (a hot drink, a spread). Still, I prefer understanding over masking: next time, use less soda, add a clear acid source, or switch to baking powder.
How to catch the ‘right moment’: signs your batter and loaf are ready
Without a mixer, you start trusting your eyes and hands. Here’s what I track.
Batter ready to go into the oven
- Even in color, with no dry white patches of flour.
- Thick: if you drag a spatula through it, the line holds for a second or two, then slowly fills in.
- Smells like banana and sweetness, not sharply of baking soda.
If the batter looks too stiff, don’t rush to add liquid. Bananas often release moisture as they bake. If it’s truly cement-like, then yes—maybe you added too much flour. But that balance usually clicks after one or two tries.
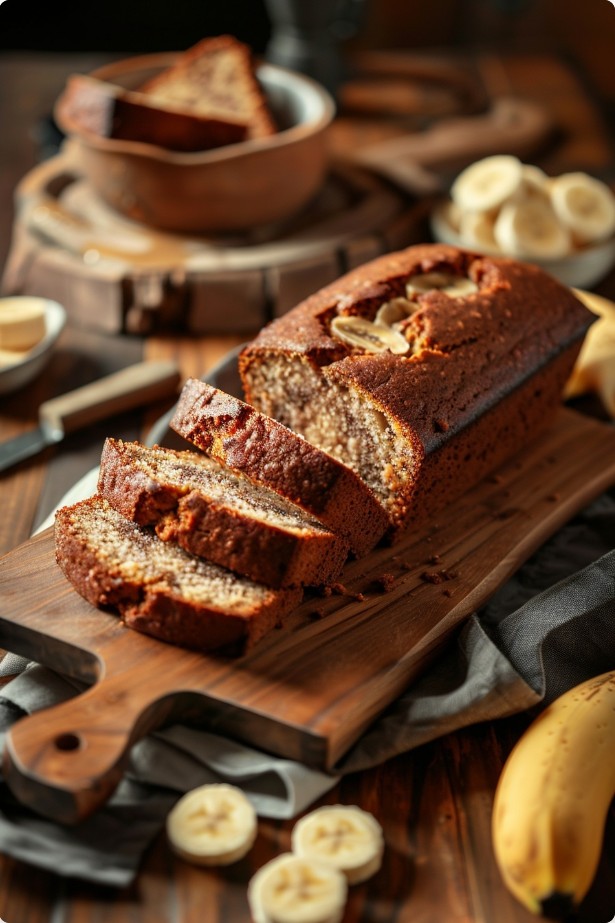
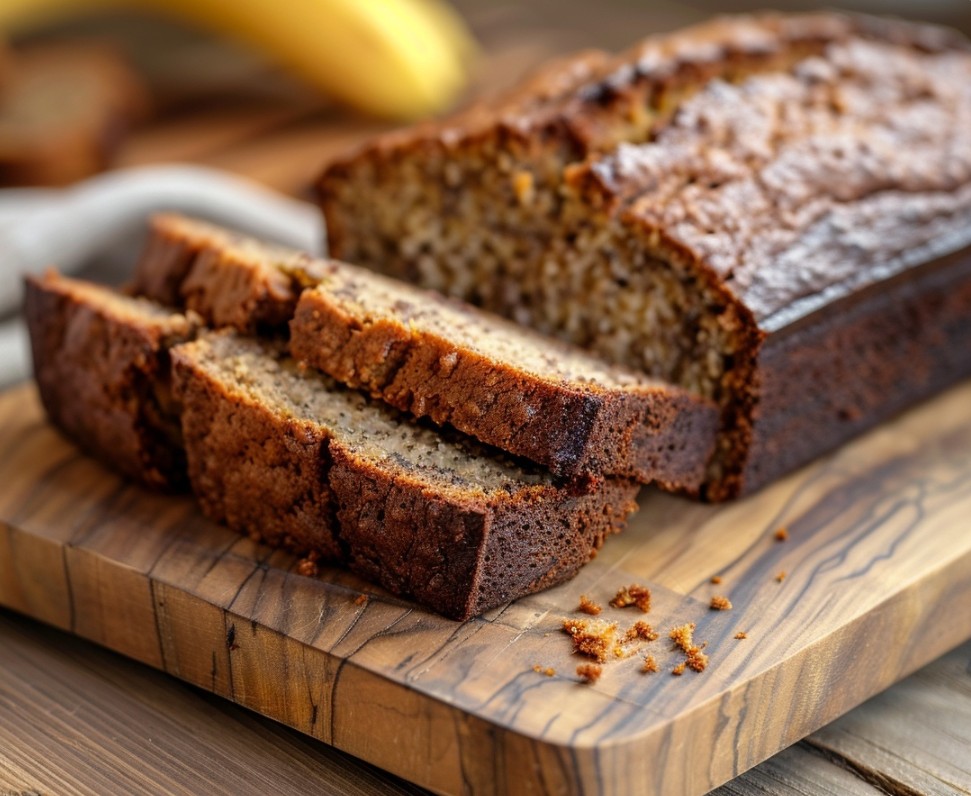
Banana bread done (out of the oven)
- The top feels springy: press lightly and it bounces back instead of sinking.
- The edges may pull slightly away from the pan (not always, but often).
- A skewer comes out without wet batter. Crumbs are fine.
Tip #6: let the loaf sit in the pan for 10–15 minutes, then turn it out and cool on a rack—or at least on an upside-down plate so the bottom doesn’t steam. If it sits in the pan too long, the base can get damp and a little sticky.
A tiny story about not slicing it hot
I get it: the smell is so good you want to cut a slice straight from the pan. I’ve done it a hundred times—and a hundred times I saw that “play-dough” center that magically turned normal an hour later. Now I make tea, clear the counter, wash the bowl… and only then slice. It’s not discipline; it’s how I don’t ruin my own first impression.
Nerves, rhythm, and small habits that make it consistent
Banana bread without a mixer is also a little bit psychological. When there’s no machine, you want to “compensate” with force: mix longer, crank the heat, bake longer. But this is exactly where gentle wins.
A few habits that genuinely help me when I’m baking from scratch in a simple kitchen:
- Prep before you mix: pan greased, oven preheating, dry ingredients whisked. Then the batter doesn’t sit around and “lose its gas.”
- Count your strokes: after adding flour, I do about 15–25 folds with a spatula. Not because it’s a magic number—just so I stop when my hand wants to do “a little more.”
- Don’t chase a perfect top: a crack, a bump, a slightly uneven surface—normal. Homemade baking is alive.
- Read the edges: the top can lie (especially in ovens with strong top heat), but the edges often tell the truth.
Tip #7: if you’re getting anxious and start rushing, pause for 10 seconds before adding the flour. Seriously. Look at the bowl, breathe in the banana smell. That’s the moment when most mistakes happen—and the easiest moment to avoid them.
Banana bread without a mixer isn’t a compromise or a “poor tools” option. It’s a completely normal way to bake—and it teaches you to feel batter: when to stop, how leavening works, and why your oven sometimes gives you character instead of perfection.
If you’ve baked without a mixer before, what was the hardest part: mixing, the oven, or judging doneness? And I’m curious—do you like a smooth, even crumb, or do you want banana pieces and those sweet little pockets?
Questions & answers
Can you make banana bread without a mixer?
Yes—banana bread is easy to make without a mixer. Ripe bananas are soft enough to mash with a fork, and the rest of the ingredients can be stirred together with a spoon or spatula until the batter comes together.
What tools do you need to make banana bread without a mixer?
You only need basic kitchen tools:
a large mixing bowl
a fork for mashing the bananas
a spoon or silicone spatula for mixing
a baking pan
That’s enough to make the batter in just a few minutes.
Will the texture change if you make banana bread without a mixer?
Not really. Banana bread doesn’t need intense whipping. In fact, gentle mixing helps keep the dense, moist crumb that banana bread is known for.
How long should you mix the batter?
Mix only until the ingredients are combined. If you mix too long, banana bread can turn dense and heavy. Usually 30–40 seconds of mixing is enough once the flour is added.
Which bananas are best for banana bread?
Use very ripe bananas with a dark, speckled peel. They’re sweeter, more aromatic, and mash easily, so the batter comes together smoothly.
Why can banana bread turn out too dense?
A few common reasons:
the batter was mixed too long
too much flour was used
the bananas weren’t ripe enough
the oven temperature was too high
For a softer texture, stick to the proportions and avoid overmixing.
How long does banana bread take to bake?
On average, banana bread bakes for 50–60 minutes at 170–180°C. Check with a toothpick: if it comes out clean or with a few crumbs, it’s done.