How to Cook Buckwheat (So It Turns Out Fluffy Every Time)
Cooking buckwheat looks like the easiest thing in the world: grains, water, heat. And yet it’s one of those staples people mess up the most.
Below is my simple, reliable method for cooking buckwheat the right way—fluffy, fragrant, and consistently tasty. No fussy techniques, no extra steps. Just the key details that actually matter.
Why buckwheat often turns out bland
Buckwheat can go wrong before it even starts cooking. Most of the time it’s not the “recipe”—it’s small habits that seem harmless, but they change the texture and flavor of the finished grains.
Mistake #1: the wrong amount of water. Too much, and buckwheat turns soft and sticky. Too little, and it’s undercooked and dry. Ratios really do matter here.
Mistake #2: overcooking. Buckwheat doesn’t like being kept on the heat “just in case.” It finishes on its own, and those extra minutes on the stove usually make it worse.
Mistake #3: stirring constantly or lifting the lid over and over. That messes with the temperature, and fluffy grains quickly turn into something closer to porridge.
One more thing people skip: buckwheat needs a short rest after cooking. If you take the lid off and serve immediately, the flavor is flatter and the texture less even.
And yes—the pot matters too. A saucepan, a small pot, and a sauté pan can all give slightly different results. I broke it down in a separate post, what’s the best pot for cooking buckwheat, where I compare the options and explain what works best in different situations.
Buckwheat-to-water ratio: the one rule that matters
If you remember one thing, make it the ratio. It’s what decides whether you get fluffy, separate grains—or a sticky pot of mush.
The basic ratio
For plain buckwheat cooked in water, this simple ratio works:
- 1 part buckwheat
- 2 parts water
It covers most situations and gives a consistent result.
Why it works
- buckwheat absorbs almost all the water as it cooks
- extra water makes it soft and sticky
- the right amount lets the grains open up without falling apart
When you can tweak it
Sometimes you adjust the ratio—but on purpose, not by guessing:
- if the buckwheat is very fresh, you can use slightly less water
- if it’s been sitting in the pantry for a long time, you might add 1–2 tablespoons of water
- for a softer texture, use a touch more liquid
These are small adjustments—not big changes.
Why “eyeballing it” backfires
The most common mistake is adding water without measuring. The result:
- a different taste every time
- no way to understand what went wrong
- “depends on luck” buckwheat
If you want it reliably good, it’s worth measuring at least roughly.
A simple rule beats a complicated recipe. Stick to the ratio, and you’re already halfway there.
How long to cook buckwheat
People tend to overthink the timing: some simmer it for 30 minutes, others pull it off too early. In reality, it’s straightforward if you follow the sequence.
A good time guideline
Once it comes to a boil, cook buckwheat:
- 15–20 minutes
- over low to medium heat
- with the lid on
That’s enough time for the grains to absorb the water and cook evenly.
How to tell it’s done
No need to stare at the clock. Look for these signs:
- all the water is absorbed
- there’s no liquid pooling at the bottom
- the grains are tender but still hold their shape
If that’s true, take it off the heat.
Why you shouldn’t overcook it
Extra minutes don’t make buckwheat tastier. They do the opposite:
- the grains start to split
- the texture turns sticky
- the flavor gets “flat”
Buckwheat doesn’t need a long boil—it needs a short rest.
The important step after cooking
After you turn off the heat:
- don’t lift the lid right away
- let it stand for 5–10 minutes
That’s when it finishes steaming and becomes fluffier.
If the buckwheat is cooked but still looks a little moist—don’t rush it. A few minutes under the lid changes the result more than extra boiling.
How to cook buckwheat: the logic from start to finish
If you want buckwheat to taste good every time, it helps to understand the process—not just individual steps. Nothing here is complicated, but each part affects the final texture.
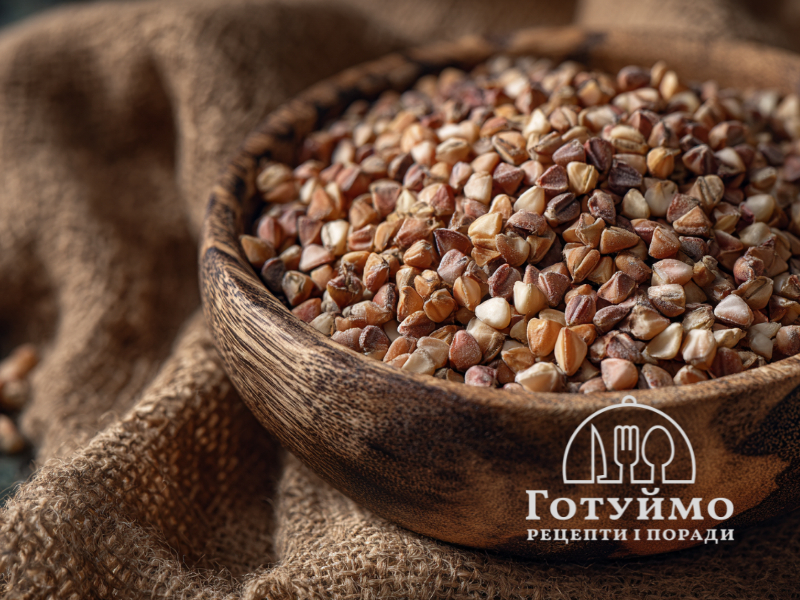
Prep the grains
Rinse buckwheat before cooking. It washes off dust and tiny particles that can make the water cloudy or add a slight bitterness. Rinse until the water looks noticeably clearer.
Starting the cook
Add buckwheat to the water right away—no soaking needed. The key is measured water (use the ratio) and a pot with a tight-fitting lid.
While it simmers
After it reaches a boil, buckwheat should simmer gently, not bubble aggressively. At this stage, you don’t need to:
- lift the lid often
- stir the grains
- add water “just in case”
Steady temperature matters more than any fiddling.
Finish and let it rest
Once the water is absorbed, remove the pot from the heat and let it stand. This is where the texture really sets—the grains finish steaming and separate nicely.
Once you understand the logic, buckwheat stops being a “lottery” and starts turning out the same way every time.
Common buckwheat mistakes
Even if you know the ratio and timing, buckwheat is easy to ruin. The reason is usually a few automatic habits people do without thinking. Here are the most common ones.
Adding water without measuring
One of the biggest reasons buckwheat fails is pouring water “by feel.” When you do that:
- it turns out different every time
- it’s hard to pinpoint what went wrong
- you can’t repeat a good batch
Even a rough measurement beats total improvisation.
Stirring while it cooks
Buckwheat doesn’t need constant attention. When you stir it:
- the grains break
- starch releases
- the texture turns sticky
After it boils, leave it alone.
Lifting the lid too often
Every time you lift the lid, the temperature drops inside the pot. That means:
- the cooking process gets disrupted
- the grains cook unevenly
- you’re more likely to overcook it
Keep the lid on for most of the cooking time.
Keeping it on the heat “just to be safe”
Buckwheat doesn’t benefit from a long boil. If it stays on the stove longer than needed:
- the grains overcook
- the texture gets heavy
- the flavor loses brightness
It’s better to stop earlier and let it steam under the lid.
Skipping the resting step
Buckwheat needs a little time after cooking. If you lift the lid and serve right away:
- the texture is less even
- the grains don’t finish steaming
- the flavor tastes simpler
A few minutes under the lid often fixes more than another 5 minutes on the stove.
Most mistakes aren’t disastrous on their own, but together they can ruin even good-quality buckwheat. Remove them, and the results become consistently good.

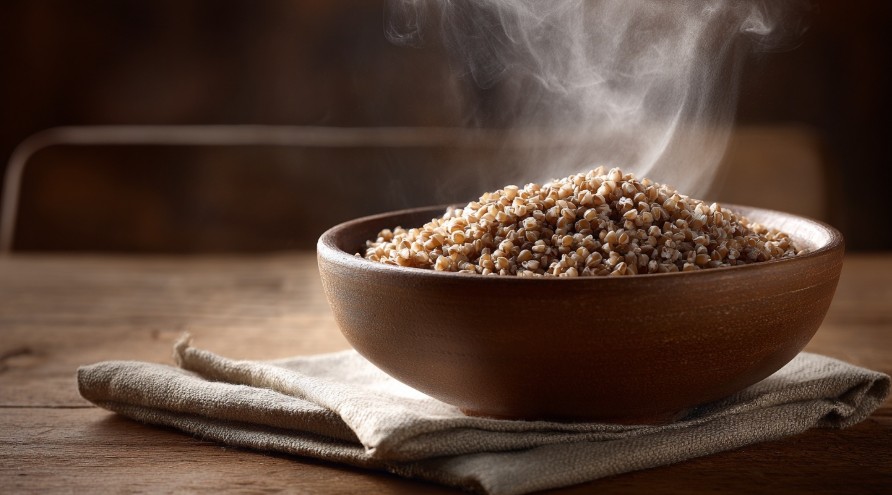
How to make buckwheat fluffy (not mushy)
Fluffy buckwheat isn’t a separate recipe or a “chef secret.” It’s the result of a few simple choices working together. Follow them, and buckwheat stops being a problem dish.
It starts with the ratio
Without the right amount of water, you won’t get fluffy grains. Even great buckwheat can’t save you if there’s too much liquid. That’s why the ratio is the foundation, not a detail.
Steady heat beats a hard boil
Buckwheat doesn’t like aggressive bubbling. After it boils, it needs a calm simmer:
- no big temperature swings
- no constant interference
- no fiddling with the heat
That’s how the grains cook evenly without splitting.
Time and patience
Fluffiness isn’t made only on the stove. Once the water is absorbed, buckwheat needs a short rest. During that time:
- the grains finish steaming
- moisture redistributes evenly
- the texture becomes light
This step is often underestimated, even though it’s one of the most important.
When to add salt and butter
Salt is usually added during cooking, once the water has come to a boil. Butter is best added after you take the pot off the heat, or right before serving. If you add it too early, the texture can feel heavier.
Why rushing doesn’t help
Buckwheat doesn’t need constant monitoring. Give it time and don’t disturb it, and you’ll get:
- fluffy grains
- no excess moisture
- a clean, natural buckwheat flavor
Fluffy buckwheat isn’t about “tricks”—it’s about a solid process with fewer unnecessary moves.
Buckwheat variations: when and why
People cook buckwheat differently depending on what they need it for. The core rules stay the same, but small tweaks change the final result. Here are the most common options and when they make sense.
Buckwheat cooked in water
This is the everyday, all-purpose version. It:
- works as a side dish
- pairs easily with meat, vegetables, and sauces
- keeps the clean flavor of the grain
This is the method most people mean when they talk about “classic” buckwheat.
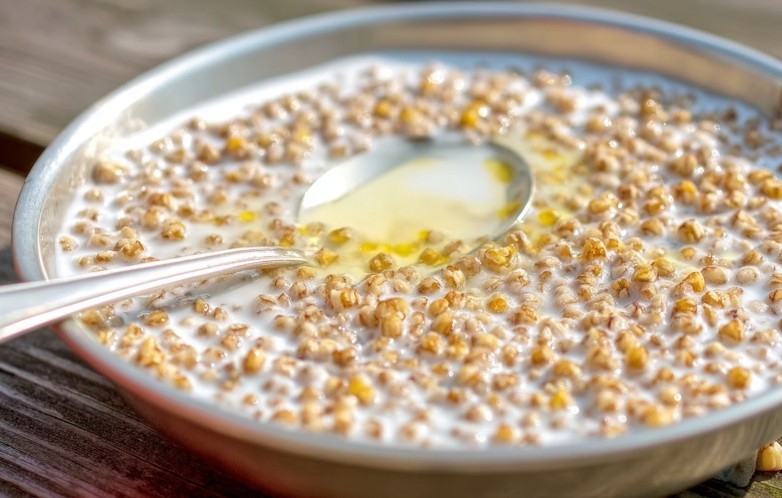
Buckwheat cooked in milk
More common for breakfast or kid-friendly meals. Keep in mind:
- milk changes the texture
- it turns out softer
- the flavor becomes more mellow
It’s simply a different end result, so it’s not really fair to compare it to fluffy buckwheat cooked in water.
Buckwheat in boil-in-bags
A convenient option when speed matters and you want minimal supervision. Pros and cons:
- ratios are basically foolproof
- consistent, but less flexible
- fewer ways to fine-tune the texture
Great for everyday life, less ideal if you want full control over the final texture.
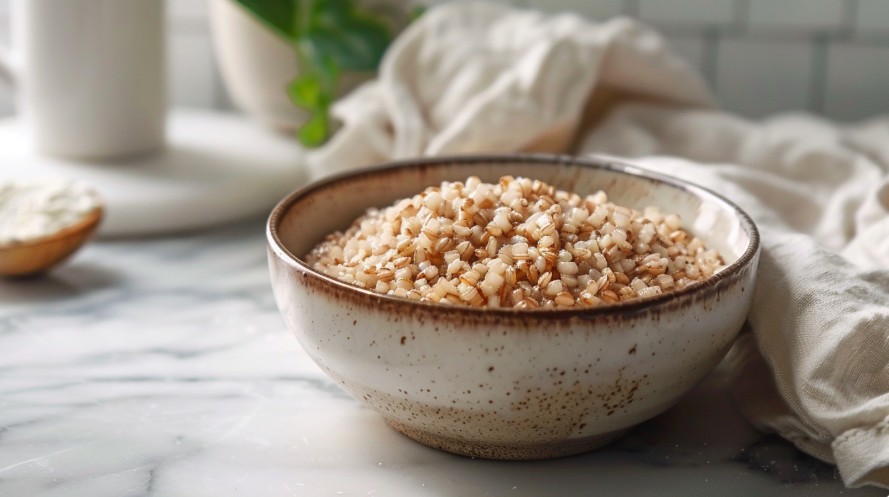
Buckwheat for kids
For kids, the goal is usually softness and easy eating, not fluffy separate grains. Often people:
- use a bit more liquid
- cook over gentler heat
- let it rest longer
Same grain, different goal—different result.
Don’t chase the “perfect method.” Decide what result you need right now, and cook for that.
Practical tips
After you cook buckwheat a bunch of times, you start noticing little things that never make it into standard instructions—but absolutely affect the outcome. That’s what “consistently good” buckwheat is made of.
Use the right size pot
Buckwheat doesn’t like being cramped. If the pot is too small:
- water evaporates unevenly
- some grains stick to the bottom
- it’s harder to keep the heat steady
Ideally, the buckwheat should fill no more than half the pot.
Don’t rush the lid-off moment
Even after the resting step, don’t aggressively stir right away. Let it settle for a minute, then gently fluff with a spoon or fork.
Don’t try to “fix it” with more water
If buckwheat is already cooked, adding water almost always makes the texture worse. Better options:
- let it rest longer
- cover the pot with a towel (over the lid) to keep the steam in
- use it in a dish with sauce
Consistency beats constant experimenting
Once you find a ratio and heat level that work for your stove and pot—stick with it. A repeatable result is more valuable than changing things “for variety.”
Good buckwheat isn’t luck—it’s the habit of cooking it with the same attention every time.
What to make with buckwheat next
Once the basics feel clear, it’s time to put them to work. Here are a few tried-and-true buckwheat recipes:
- buckwheat cooked in water
- buckwheat cooked in milk
- buckwheat with chicken
- buckwheat with mushrooms
- merchant-style buckwheat (hrechka po-kupetsky)
- buckwheat patties made from cooked buckwheat for a tasty lunch or dinner
- homemade hrechanyky
- buckwheat with gravy
Most common questions
Чи потрібно промивати гречку перед варінням?
Так, бажано. Промивання змиває пил і дрібні частинки, які можуть впливати на смак і прозорість води. Достатньо промити гречку кілька разів, поки вода стане чистішою.
Коли краще солити гречку?
Сіль додають під час варіння, зазвичай після закипання води. Якщо посолити надто рано або вже після приготування, смак може розподілитися нерівномірно.
Чи можна переварити гречку?
Так. Якщо тримати її на вогні довше, ніж потрібно, зерна розварюються, і каша стає липкою. У більшості випадків краще зняти раніше і дати їй настоятися під кришкою.
Чи потрібно мішати гречку під час варіння?
Ні. Постійне помішування порушує структуру зерна і робить гречку клейкою. Після закипання її краще не чіпати.
Чи підходить гречка для приготування наперед?
Так, але з нюансами. Після зберігання вона стає щільнішою, тому краще:
зберігати під кришкою
розігрівати з невеликою кількістю пари або соусу
не пересушувати
Buckwheat doesn’t require special ingredients or complicated techniques. Understand the logic, stick to the ratio, and don’t rush it. Once those basics become habit, buckwheat turns out delicious every time.
If you’ve got your own little trick or observation that works well in your kitchen, share it in the comments. Swapping real-life tips is what makes cooking simpler—and more fun.