Blenders for Chia Smoothies: What to Choose
I once thought a blender was just another box in the kitchen that you pull out once a month. But when I first tried a chia smoothie, everything changed. It turned out that not all appliances handle seeds as they should. Even worse is when the blender buzzes, overheats, or leaves lumps, and you just wanted a quick breakfast. Familiar feeling: you expect a minute of work, but you get half an hour of washing and hassle. So now I’ll tell you what really works, what doesn’t, and how not to waste extra money and nerves on a blender that can’t even handle chia.
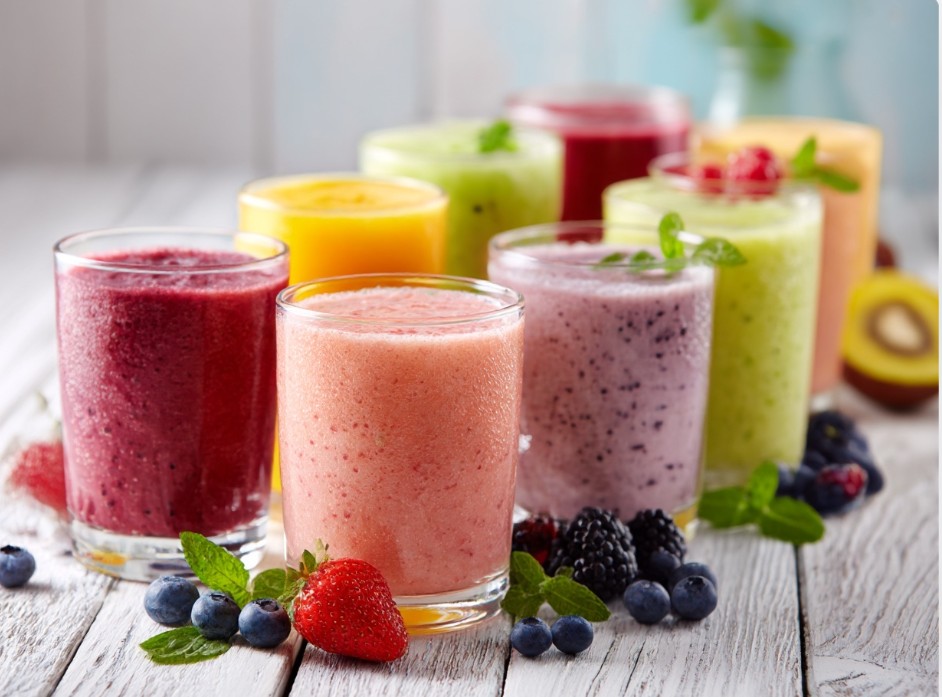
Why Chia Smoothies Are a Special Story for Blenders
At first glance, a smoothie is just fruits plus liquid. But once you add chia, it’s a different story. I’ve often found that even a decent blender can leave these seeds whole or, worse, make the drink slimy and uneven. Chia swells in liquid, becomes gelatinous, and this is where the appliance shows its character.
A regular cheap blender often can’t handle this. The blades might “chase” the seeds around the bowl but not grind them. As a result, you get a drink with lumps that crunch in your teeth. On the other hand, if the power is too high, chia can turn into a sticky mass — and that’s not what you want either.
I’ve encountered various situations: the blender vibrates, smokes, and the smoothie remains uneven. So when it comes to chia, choosing the right appliance requires a bit more attention than it seems at first glance.
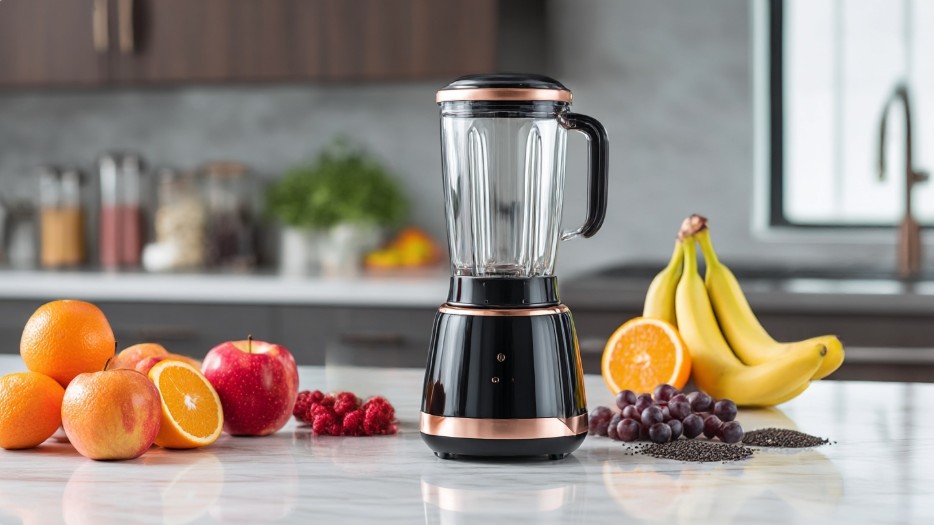
Which Blender Is Really Suitable for Chia Smoothies
From my experience, a chia smoothie requires not just “any blender,” but one that combines several important features. I’ve tried stationary, immersion models, and even mini travel blenders. Each time the results varied — from perfect texture to disappointment.
Here’s what really affects the final result:
- Power. 500 watts is the minimum to start with. Less than that, and the chia will remain whole, especially if you add frozen berries or nuts.
- Bowl Shape. A narrow bowl is the best choice. It forces the ingredients to move towards the blades. In wide bowls, everything often “scatters” to the walls.
- Material. Glass or thick plastic is a matter of convenience and durability. Glass doesn’t absorb odors but is heavier and can crack with sudden temperature changes.
- Blades. The number and shape matter. Multi-level blades grind better, but it’s important that they are sharp and easy to clean.
I once bought a compact blender with an attractive price, but it turned out it couldn’t even blend a banana with chia. Since then, I focus on a minimum set of features to avoid getting a lumpy mush.
Stationary or Immersion: What’s Easier in Life
The debate over whether a stationary or immersion blender is better has been going on for years. Honestly, both have their pros and cons, and it all depends on what you expect from the appliance.
Stationary Blenders
They are more powerful, usually have a larger bowl, and handle larger portions better. I like to use them when making smoothies for several people or adding ice, nuts, greens. A stationary blender allows you to throw everything in and forget about it for a few minutes. But there’s a catch — it takes up a lot of space, and washing a large bowl is often a hassle.
Immersion Blenders
This is an option for quick solutions when you need to make one or two servings. Plus — fewer parts to wash, minus — it doesn’t always handle hard ingredients or chia if the power is low. I like to use it for sauces or soups, but for chia smoothies, I still prefer a stationary one.
Tip: if you choose an immersion blender for smoothies, get one with a separate cup with high walls. It’s easier to blend chia and not splash everything around.
Several times I tried making chia smoothies in a plastic bowl — and the result was sad: some seeds remained whole, and the drink was uneven. So it’s better to get the right container right away.
Real Experience: Space, Convenience, and Cleaning
You can talk about power all you want, but if the blender is inconvenient to take out of the cupboard or wash, it will stand as decor. I realized this in the third year of use: it’s nice, powerful, but I’m too lazy to take it out — and my hand reaches for a fork.
- Space in the kitchen. A stationary blender takes up a lot of space, especially if the kitchen is small. I keep it on the countertop because otherwise, I won’t use it. An immersion one is easier to hide in a drawer, but then you look for attachments.
- Cleaning. The biggest problem is the blades and seals. If they are difficult to remove, chia remains inside, and then an odor appears. Glass bowls are easier to wash, but they are heavier and slippery when wet.
- Assembly and disassembly. Some models have complex mechanisms — by the time you assemble and disassemble, all desire to cook is gone. For me, this is a decisive factor. If the parts are easy to remove and can be quickly washed — I use it more often.
Once I bought a blender with non-removable blades. Imagine: chia smoothie remnants stuck under the blades, which can’t be removed. After a month, I had to clean it with a toothbrush… Since then, I check how everything disassembles right in the store.
Common Mistakes When Choosing a Blender for Chia Smoothies
When you look at a shelf with kitchen appliances, your eyes scatter. Often, choices are made based on price, appearance, or loud labels on the box. I was no exception. Here are some mistakes I’ve seen and experienced myself:
- Too low power. It often seems that 300 watts is enough for a smoothie because “it’s not chopping meat.” But chia is not easy to grind, especially with frozen berries or apples.
- Minimal bowl volume. You buy a mini blender, and it can’t handle two servings. You have to make it twice, and then wash twice as much.
- Incorrect bowl shape. In wide and low bowls, ingredients remain on the walls. The result is lumps and uneven blending.
- No pulse mode. Without it, it’s hard to control the degree of chia grinding: either everything turns into mush, or whole seeds remain.
- Difficult cleaning. If the blades are non-removable, or seals are hard to remove — it will be a problem, especially for chia, which tends to get stuck in every crevice.
I remember a friend’s story: she bought a nice designer blender, but after the third use, she realized it was inconvenient to wash. As a result, it gathers dust, and she makes smoothies with a fork…
What Can Replace a Blender for Chia Smoothies
It’s not always possible to buy a new blender, and you want a smoothie here and now. I’ve tried different methods when the appliance failed or was occupied.
- Mixer. If you add liquid first, then soft ingredients, a mixer can handle it. But chia will not be ground, just mixed — it’s a different texture.
- Mortar and pestle. For experiments: you can grind chia separately and then add to the smoothie. It’s long, but the result is closer to what you want.
- Fork and time. If there’s nothing at hand, you can mash a banana with a fork, add chia, and leave for 10-15 minutes. The seeds will swell a bit, but the drink will be thick and uneven.
Once I left chia to swell in yogurt overnight, and in the morning blended everything with an immersion blender. It turned out well, but the appliance allows you to do it faster and neater.
Tip: if there’s no blender, mix chia with liquid and let it sit for at least 20 minutes — this way they become softer, and the smoothie will be more pleasant to eat even without grinding.
Here’s an interesting article: Blender vs Food Processor: what to choose for the home kitchen
Life Hacks for the Perfect Chia Smoothie in a Blender
Over the years, I’ve noticed that even a good blender doesn’t guarantee a perfect result. So I have a few rules that really work in everyday life:
- Always add liquid first. If you pour chia on top of dry ingredients, they will stick to the walls of the bowl and won’t grind evenly.
- Don’t overload the bowl. It’s better to blend two small portions than one large one and get lumps. This is especially true for cheap models.
- Use pulse mode. It helps mix chia without turning them into a sticky mass.
- Clean immediately after use. Chia dries quickly and sticks to the blades. I always rinse the bowl with warm water right after blending, then wash it thoroughly.
- Add chia gradually. If there’s a lot of seeds, divide them into two parts: add one at the beginning and the other at the end. This way the texture will be more interesting.
My favorite way is to leave chia in liquid for 10 minutes, then blend everything together. This way they become softer and grind better, even if the blender isn’t top-notch.
Blender Care: How to Extend the Life of Your Appliance
A blender is not a cheap thing, and you want it to last long. Especially if you use it for chia smoothies, where seeds can clog the blades and seals. I’ve learned a few simple things that help avoid breakdowns and unpleasant odors.
- Don’t leave smoothies in the bowl for long. Chia swells quickly and sticks to the walls, making it hard to wash.
- Wash immediately after use. A few minutes under hot water and the blades are clean. If you forget, fill the bowl with water and a drop of detergent and run the blender for 10 seconds.
- Check the seals. After each use, remove them and wash separately. Chia remnants often accumulate there, which can spoil the taste of future dishes.
- Don’t overload the blender. If the bowl is too full, the blades work with effort and can dull or even break.
- Store the blender in a dry place. Moisture leads to mold, especially if there’s a drop of chia smoothie left somewhere.
I once forgot to wash the seal after a chia smoothie. After two days, an odor appeared, and I had to scrub everything with lemon juice. Now I always check even the small details.
What to Pay Attention to When Buying: Common Sense Over Trends
Buying a blender is not a question of fashion or beautiful design. I’ve learned to distinguish appliances that really help from those that will become dust collectors. Here are my “common sense” criteria:
- Is it convenient to take out and store. If you have to reach for the top shelf every time — you won’t use it.
- Is it easy to clean. If the design allows you to easily remove the blades and seals — that’s a plus.
- Adequate power. For chia smoothies, preferably not less than 500 watts, otherwise the result will be mediocre.
- Quality of materials. Glass is more durable but heavier. Plastic is lighter but may become cloudy over time.
- Availability of a warranty. It’s a matter of confidence: if something goes wrong, you won’t have to immediately throw away the whole blender.
For example, I was choosing between two models: one had many modes, the other was simple but had a convenient bowl. I chose the latter and don’t regret it: I use it regularly, wash it quickly, and the smoothie turns out just right.
🎉 Ideas for a Festive Menu Using a Blender
If you’ve already found your ideal blender for making chia smoothies, why not use it not only for daily drinks but also to create modern and delicious dishes for the festive table? A blender will come in handy when preparing sauces, cream soups, cocktails, and desserts for guests on a birthday.
👉 Check out practical ideas for a modern birthday menu, where you’ll find inspiration for dishes and drinks that will definitely surprise your guests.
Simple Alternatives for Chia Smoothies Without Extra Costs
If the budget is limited and chia smoothies have already become a habit, you can do without an expensive blender. I’ve experimented with different options and found a few solutions:
- Immersion blender with a tall glass. Even in simple models, if you choose a narrow container, chia grinds better than in a wide bowl.
- Pre-soaking. Let chia soak in liquid for 15-20 minutes, then blend — even a weak blender can handle it.
- Microwave for softening. If you add frozen berries, heat them a bit, and the blender won’t be overloaded.
- Using a sieve. If lumps remain after blending, strain the smoothie through a sieve — the texture will be smoother.
- Replacing chia with flax or oats. They also provide thickness and nutrition but are easier to grind even with weak appliances.
Once I made chia smoothies at the cottage, where there was no equipment. I soaked the seeds with kefir, mashed a banana with a fork — and got a decent result. Not perfect, but quite edible and without extra effort.
In summary, I’ll say honestly: there’s no perfect blender for everyone. Everyone looks for a balance between price, convenience, and result. But if you approach the choice practically — not only looking at power but also at ease of cleaning, bowl shape, and the ability to quickly assemble the appliance — the kitchen will become simpler, and chia smoothies will stop being a “one-time entertainment.” By the way, how often do you make smoothies at home and what difficulties do you encounter with the appliance? Maybe there’s another life hack I didn’t know about — share in the comments.