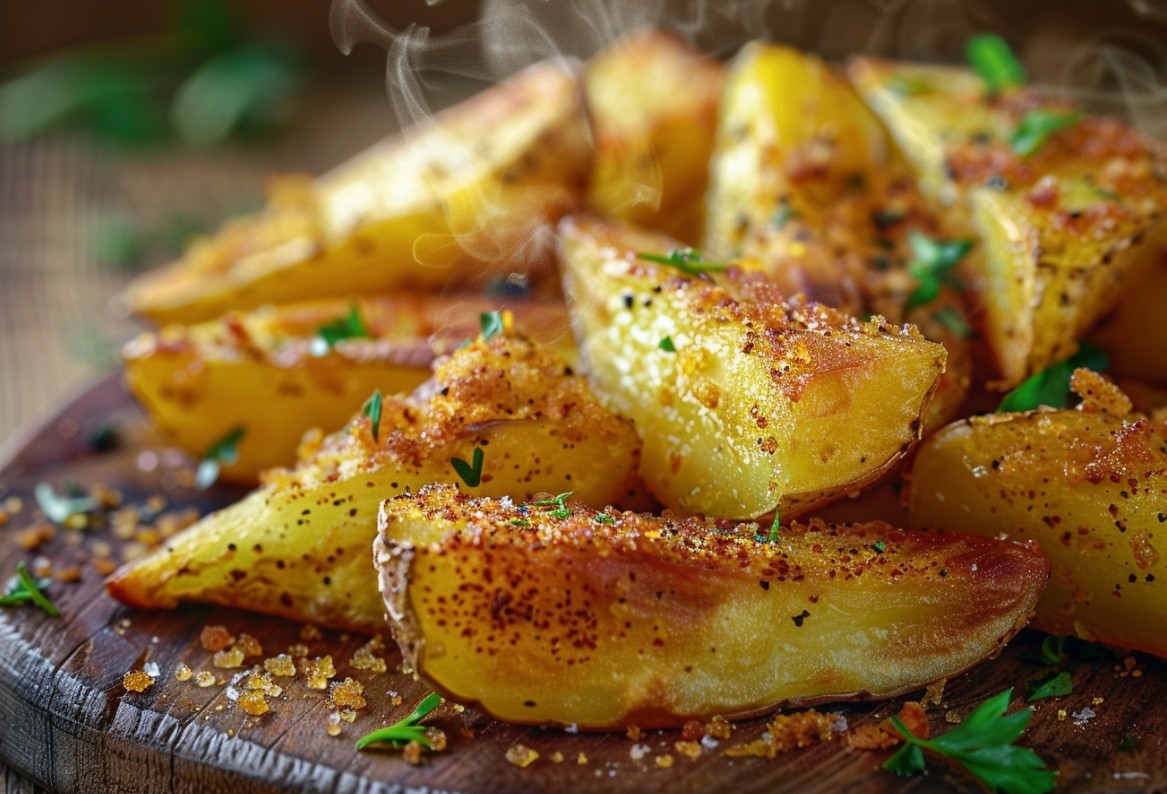
I still remember those evenings when the oven was already hot from baking, and a big bowl of potatoes was waiting on the table. Cut into wedges, a handful of salt, garlic, a pinch of paprika—and somehow your hand “accidentally” pours in extra oil, just to be safe. The first time I did that, the bottoms browned… but the tops stayed pale and soft. That’s when I got picky about the little things: dry the wedges, preheat the tray, and give every piece a bit of breathing room. The whole thing comes down to the flip—there’s that quiet sizzle, and the edges are already turning gold. Pull the tray out and the kitchen smells so good people wander in before you’ve even set the table.
In this recipe you’ll learn
- Why you’ll love this recipe
- Tips before you start
- What to look for when choosing ingredients
- Secrets for perfect rustic potato wedges
- How to serve rustic potato wedges — golden crust guaranteed
- Nutritional perks
- Recipe variations
- Questions & answers
- Common mistakes
Why you’ll love these rustic potato wedges
That first bite tells you everything: the edge crunch means the tray was hot and the wedges were properly dry. It’s practical, too—one baking tray gives you a side for 4 servings, and you’re not babysitting a frying pan for 40 minutes. While they’re in the oven, you can chop a salad and whip up a quick dip without rushing.
- Crunchy crust without deep-frying
- Soft middle (not gluey)
- Minimal washing up
- Works with meat or fish
- Holds onto spices really well
- Still tasty the next day
Tips before baking potato wedges
First things first: preheat the oven to ![]() 200 °C (392 °F), and slide your baking tray in to heat up for at least 10 minutes. After washing, dry the potatoes with a kitchen towel until the surface looks matte—water is the enemy of crisp edges. Cut wedges to a similar thickness (about 2–2.5 cm at the widest part) so they cook evenly. Go easy on the oil: you want a thin coating so the spices cling, not a slick puddle at the bottom of the bowl. Want extra crunch? Leave the wedges on the board to air-dry for 7 minutes while the oven heats.
200 °C (392 °F), and slide your baking tray in to heat up for at least 10 minutes. After washing, dry the potatoes with a kitchen towel until the surface looks matte—water is the enemy of crisp edges. Cut wedges to a similar thickness (about 2–2.5 cm at the widest part) so they cook evenly. Go easy on the oil: you want a thin coating so the spices cling, not a slick puddle at the bottom of the bowl. Want extra crunch? Leave the wedges on the board to air-dry for 7 minutes while the oven heats.
- Preheat the tray with the oven
- Dry the wedges until matte
- Keep the wedges a consistent size
- Don’t crowd the tray in layers
- Salt lightly (or add at the end)
What to look for when choosing ingredients
Go for firm potatoes with thin skins—springy to the touch, no damp spots, and definitely no sweet “old potato” smell. Use a fresh, neutral oil so it doesn’t fight with the garlic and paprika. Smoked paprika is my favourite here: that warm, toasty aroma really blooms after about 25 minutes in the oven.
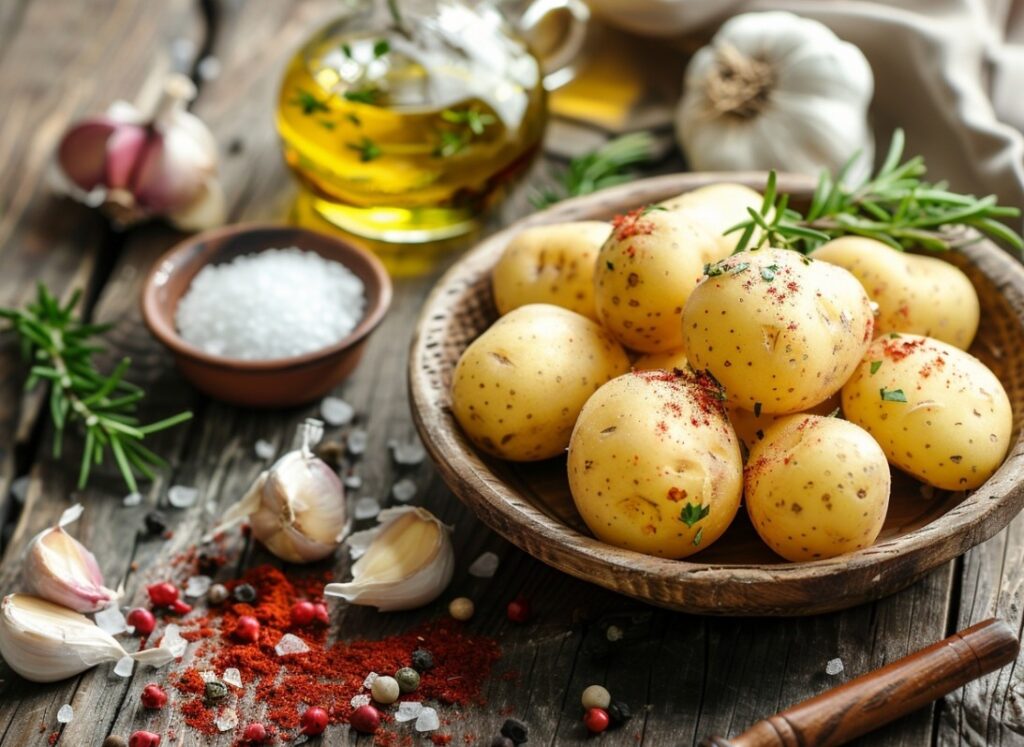
Potatoes
Pick medium potatoes that are roughly the same size; thin skin, no green patches, no sprouts.
Refined sunflower oil
Neutral and fresh—your spices taste cleaner, and the crust won’t turn bitter.
Smoked paprika
Dry, bold aroma. If it’s clumpy and stale, it tends to burn in patches.
Garlic
Juicy cloves without sprouts; add at the end so it doesn’t scorch.
Salt
Fine salt works best—it sticks more evenly to hot wedges.
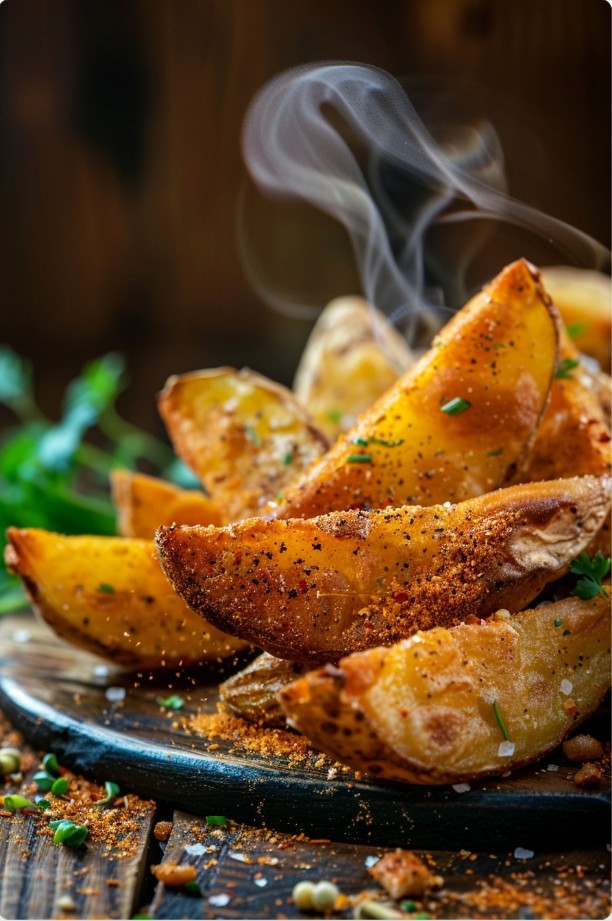
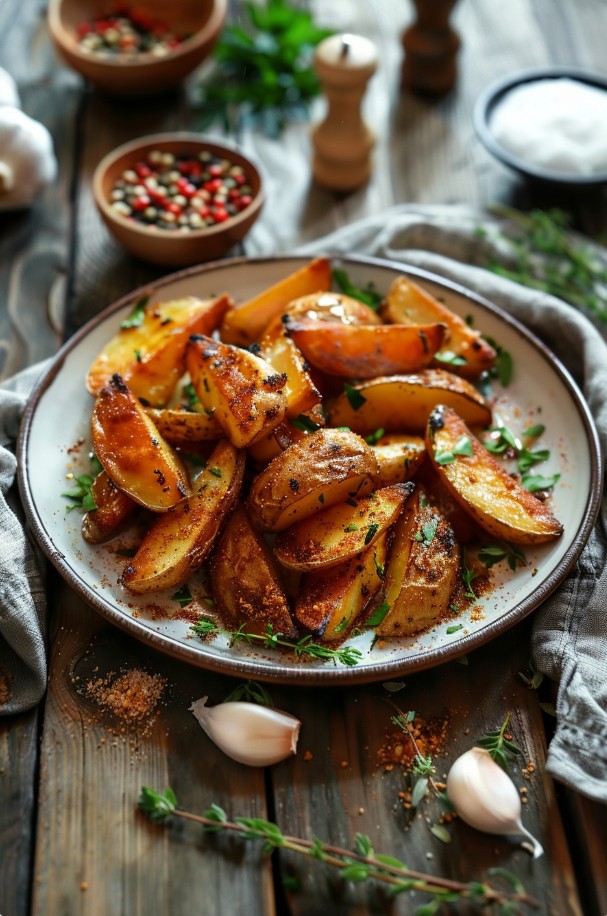
Secrets for perfect oven-baked rustic potatoes
The key is 180°C—don’t push it higher during the main bake. That’s how the crust dries out while the inside has time to turn properly tender. Second move: a hot tray and enough space between wedges so steam doesn’t soften the surface.
- A preheated tray gives you that quick “sear”
- Dry the wedges before adding oil
- Oil should be a thin film, not a puddle
- Flip once—after the crust has set
- Add garlic at the end of baking
How to serve baked potato wedges
I’ll be honest: I often put the tray right on a wooden board in the middle of the table and let everyone grab hot wedges with tongs. They also travel well—great for a picnic, and they keep their shape even 20 minutes after coming out of the oven.
- With dill and spring onions
- With a garlicky sour cream dip
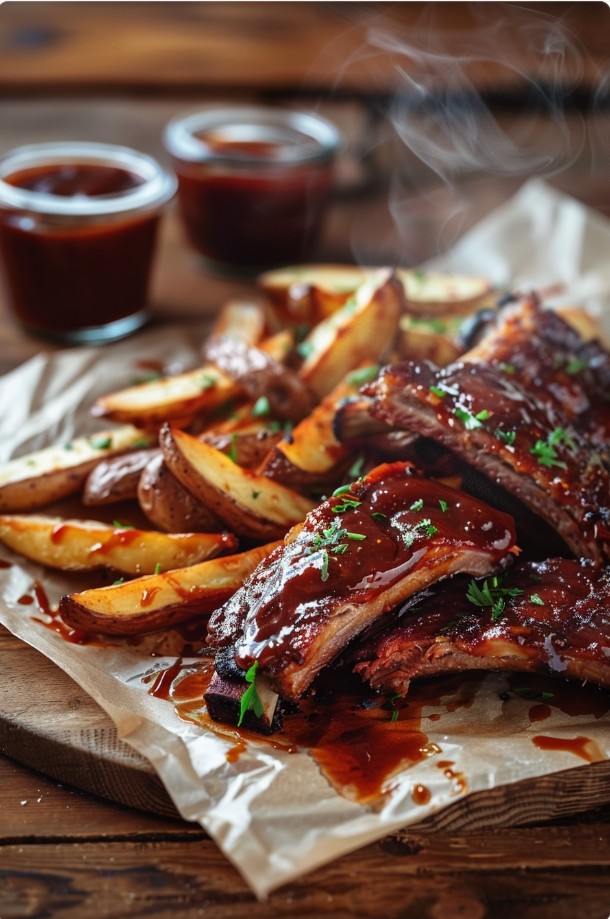
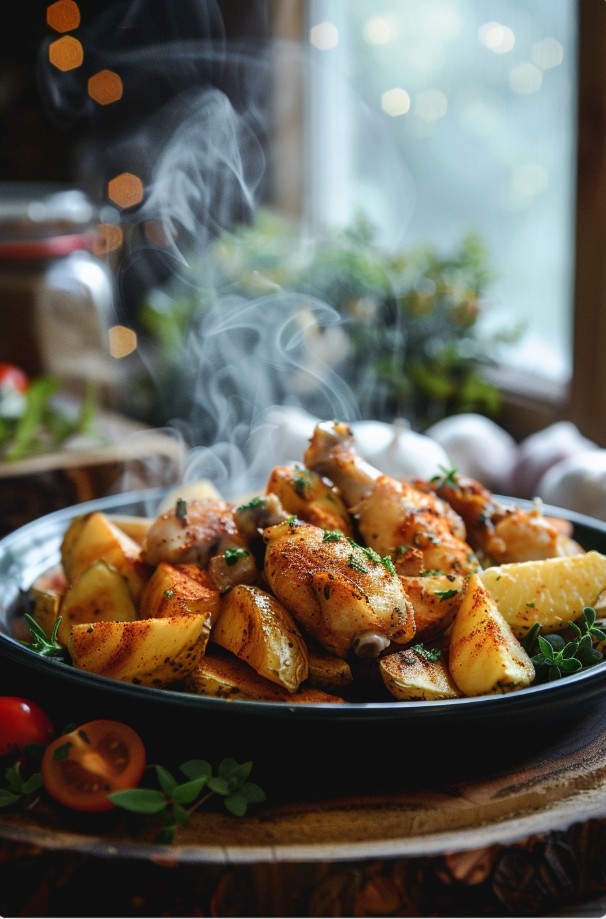
- Next to roast chicken or ribs
- With pickles on the side
- With beetroot salad and horseradish
Nutritional perks of rustic potato wedges
Calorie-wise, baked wedges are usually lighter than chips/fries because you’re using a fraction of the oil. You still get the familiar potato carbs and some fibre (especially if you keep the skin on), and the spices bring big flavour without needing much else.
- Less oil than deep-fried potatoes
- A solid energy boost for dinner
- Fibre from the skin (if you keep it on)
- You control the salt and seasoning at home
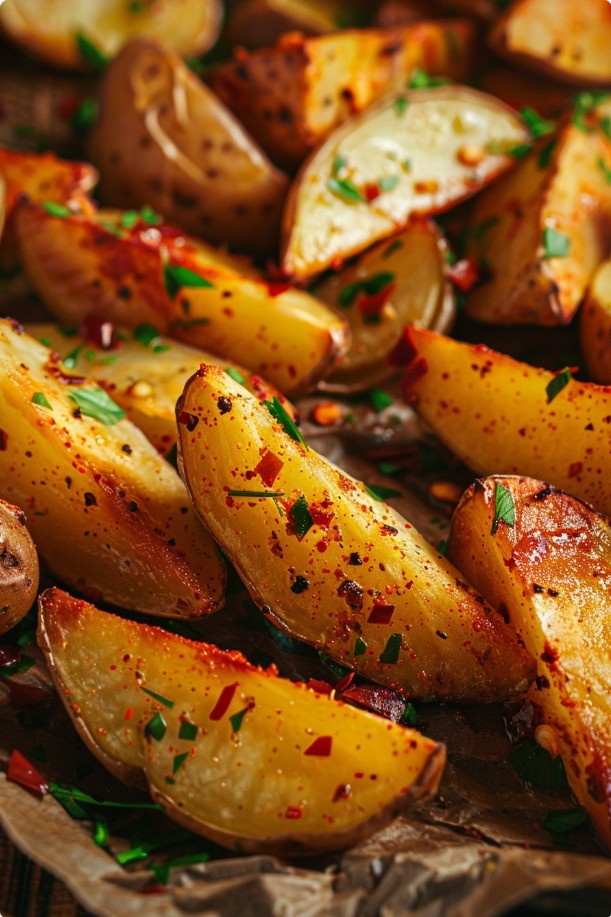
Rustic potato wedges: variations
In summer I make these with new potatoes (skin on) and go heavy on fresh herbs. In winter I’ll grab starchier potatoes and lean into paprika and a bit of dried garlic. The rule is simple: switch up the flavour, keep the technique.
- New potatoes + dill + lemon zest
- With curry powder and sesame seeds
- With rosemary and flaky salt
- Spicy version with chilli flakes
- With mushroom seasoning and onions
If you’re after an easy, filling dinner idea, take a look at our roundup of 10 dinner ideas. It’s packed with simple, home-cooked recipes—from fragrant roasts and baked potatoes to lighter, quicker meals that work any night of the week. It’s a handy way to answer the eternal question of what to make for dinner and keep everyone happy with proper homemade food.
Questions & answers
How long should you bake wedges so they’re crisp outside and soft inside?
How long do you bake potato wedges in the oven?
Usually 40–45 minutes at 180°C, depending on wedge thickness and your oven; flip once after 20–25 minutes.
How do you make the crust even crispier?
Dry the wedges really well, preheat the tray, don’t pack them tightly, and at the end raise the temperature to 200°C for 5–7 minutes, keeping an eye on the colour.
Why do the potatoes stick to the tray?
The tray wasn’t hot enough, or there wasn’t enough oil on the surface. Preheat the tray in the oven and grease it with a thin layer of oil; flip only once the bottoms have browned and release easily with a spatula.
What if I’ve oversalted them?
Toss the hot wedges with 1–2 tbsp sour cream or yoghurt—some of the salt will mellow out; or serve with an unsalted dip and a fresh salad with no added salt.
How do you store and reheat leftovers?
Store in a container in the fridge for up to 2 days. Reheat on a tray at 190–200°C for 8–10 minutes, spread in a single layer to bring back the dry crust.
Common mistakes when making rustic potato wedges
If the tray is cold, the potatoes release moisture first and basically start steaming in their own vapour. Too much oil or a crowded tray does the same thing—the surface can’t dry out in time. A dry, oversalted, burnt result happens fast if you bake too long at high heat, or if you add garlic at the beginning (it darkens way before the potatoes are done).
Why are my wedges soft with no crust?
Most of the time it’s surface moisture and a tray that wasn’t preheated. Dry the potatoes until matte, heat the tray in the oven for at least 10 minutes, and spread the wedges in a single layer with gaps.
Why are the potatoes burnt on the bottom?
The tray may have been too low in the oven, or the temperature was too high. Use the middle shelf and stick to 180°C for the main bake, and flip once after 20–25 minutes.
Why do the spices taste bitter?
Paprika and dried garlic can burn if there’s too much of them or the oven runs hot. Use 180°C, go lighter on spices, and add fresh garlic at the end by tossing it with the hot wedges.
Why are they undercooked in the middle?
The wedges are uneven or cut too thick. Aim for about 2–2.5 cm thickness and give them another 5–10 minutes after flipping, until a knife slides into the centre easily.


Responses