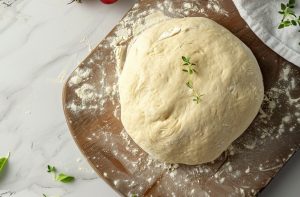
Pizza Dough: The Classic 60–65% Hydration Formula
There’s something particularly quiet about it: when your hands are in the flour, the bowl is nearby, and you already feel how dough for pizza is born from simple things. Not from a box, not from a restaurant, but right here — in your kitchen, with your doubts and hopes for a good result. I’ve seen people with sweaty palms: ‘What if it doesn’t rise? What if it’s sticky?’ Familiar? I’ve been through it too. And it’s these moments — when not everything is under control, when feeling is more important than formula — that become the best school.
People often ask me: why does someone’s pizza turn out airy, while someone else’s resembles a sole? I’ve encountered people literally afraid of dough: too sticky means adding flour, instead of giving it time and attention. The secret I discovered is that it’s not just about exact proportions. The 60–65% hydration formula is the foundation, but real dough is born when you start to understand it with your hands. Patience and trust in the process are important here.
If someone reading these lines wants to cook better but is afraid of ruining something — you’re not alone. I once stood by a bowl with a lump of dough and didn’t understand how it should ‘sound’ under my hands. Today, I want to share my experience that will help you feel control and calm when working with pizza dough: how it should look, how it should feel, why it behaves this way, and what to do if something goes off plan.

What is hydration and why 60–65% is the golden mean for pizza
Once, when I first heard the word ‘hydration,’ it sounded too technical to me. But over time, I realized: it’s simply the percentage of water to flour. Imagine: for every 100 grams of flour, you add 60-65 grams of water. Why exactly like this? It’s not about fashion or standards — it’s about the balance between elasticity, ease of stretching, and shape retention. Less — the dough becomes tough, hard to stretch, the crust will be hard. More — you risk getting sticky, runny dough that’s hard to control without skills.
I tried dough with different hydration levels: 50% — like plasticine, doesn’t want to listen, 80% — sloshes like mud. Exactly 60–65% in household conditions gives softness, a fluffy structure, and doesn’t cause panic if you don’t have much experience. Such dough easily yields to hands, doesn’t tear, but also doesn’t stick to everything.
Classic Pizza Dough Formula
- Flour — 1000 g (100%)
- Water — 600–650 ml (60–65%)
- Salt — 20–22 g (2–2.2%)
- Yeast — 1–3 g dry or 3–7 g fresh (0.1–0.3%)
- Olive oil — 20–30 ml (2–3%) optional
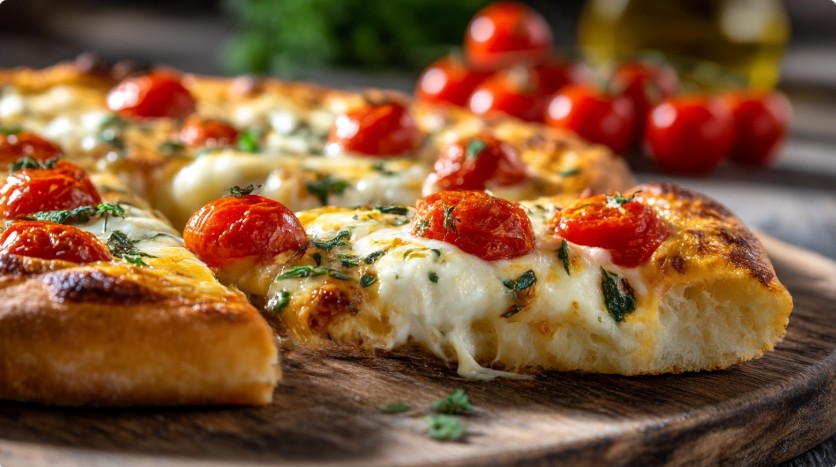
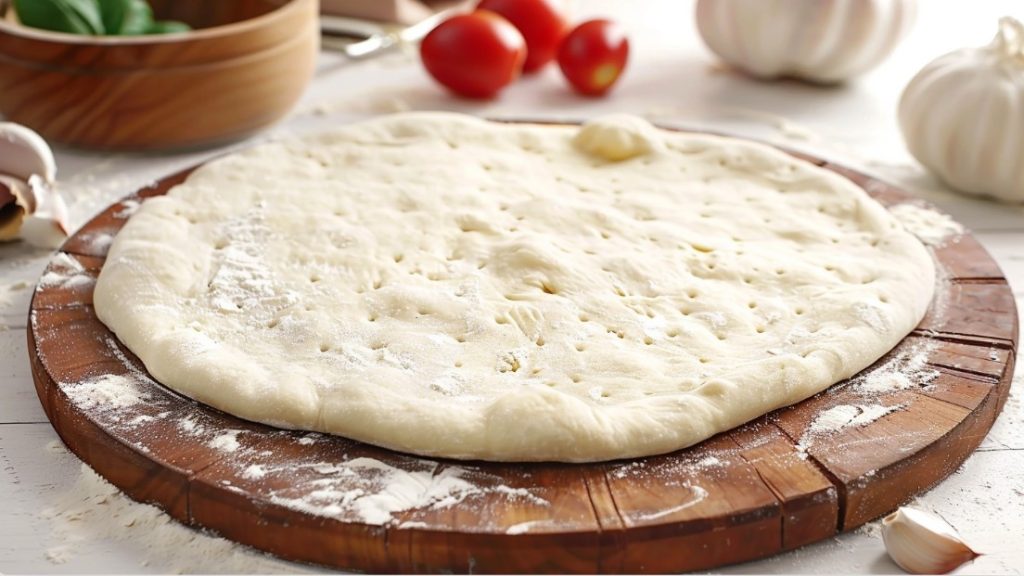
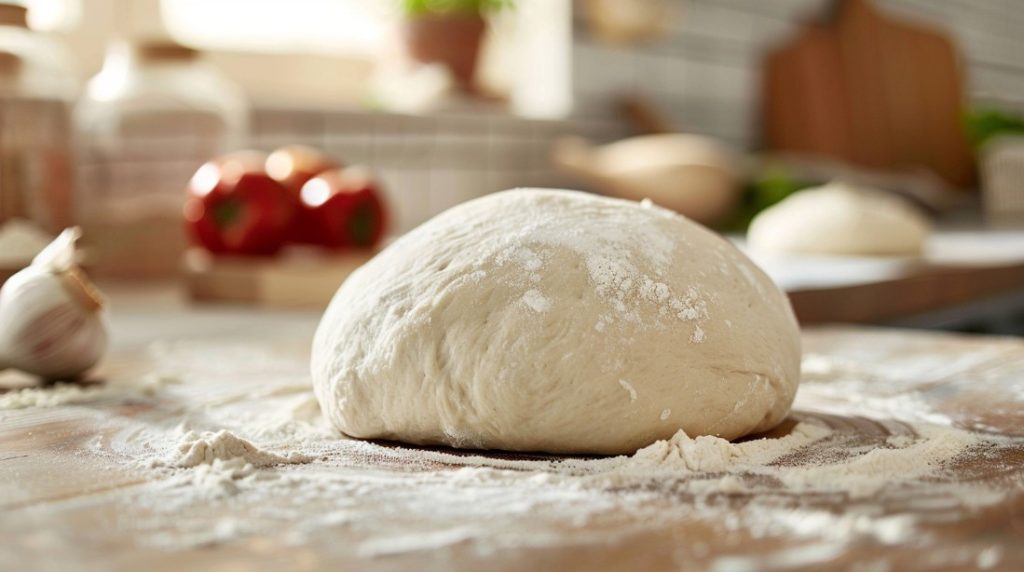
Hydration 60–65% is the classic balance for pizza: the dough remains elastic, stretches well by hand, doesn’t tear, and forms an airy crust after baking.
Understanding dough with your hands: texture, stages, sensations
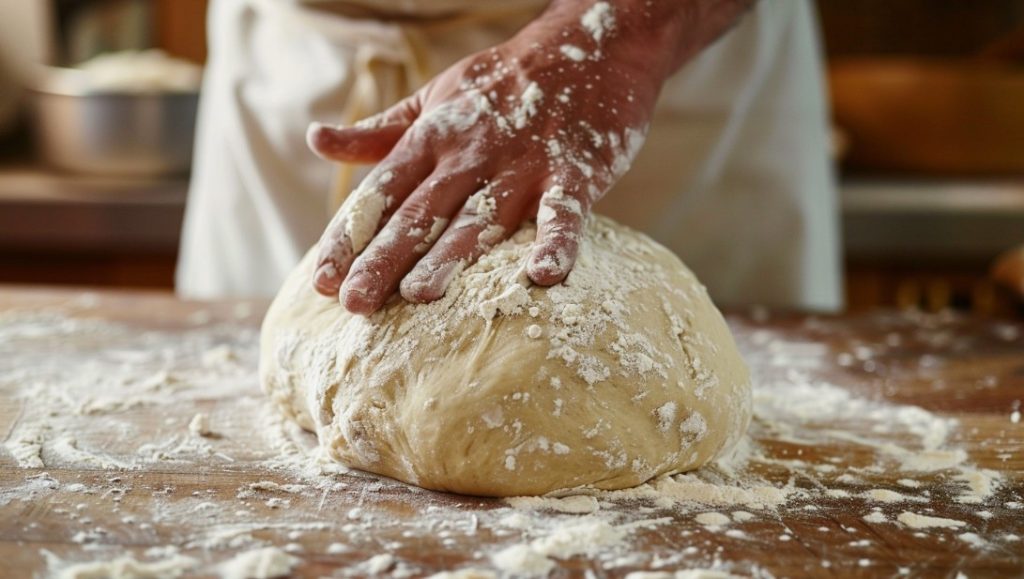
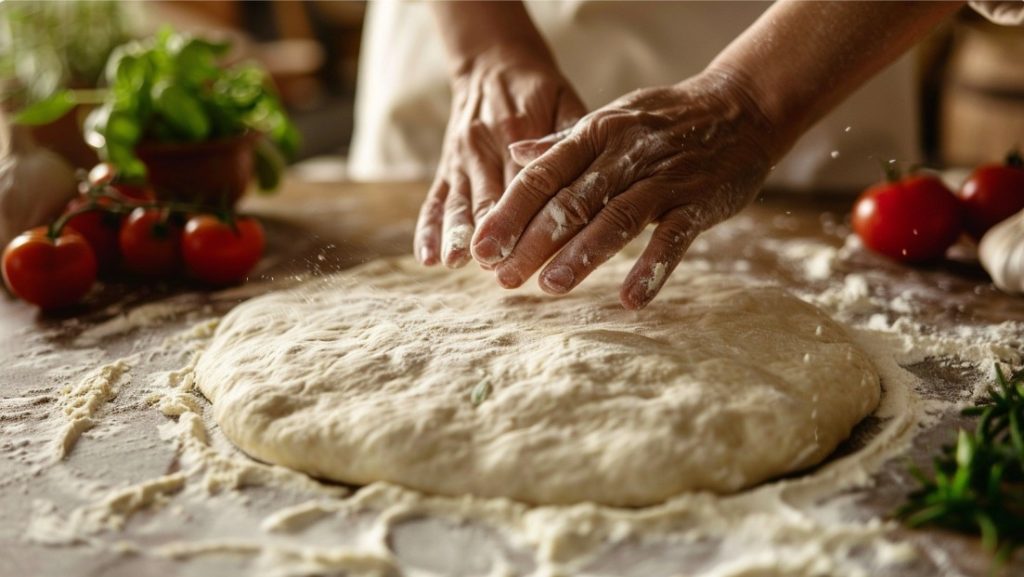
One of the biggest mistakes is relying only on numbers and tables, ignoring the feeling under your fingers. Over the years, I’ve learned to recognize the ‘readiness’ of the dough not by hours, but by texture. From the start — when you combine water with flour — the mass still falls apart, lacks smoothness. It’s normal: give it a few minutes, let the flour absorb the water. After 5–10 minutes of kneading, you’ll feel how the dough becomes uniform, slightly elastic, homogeneous.
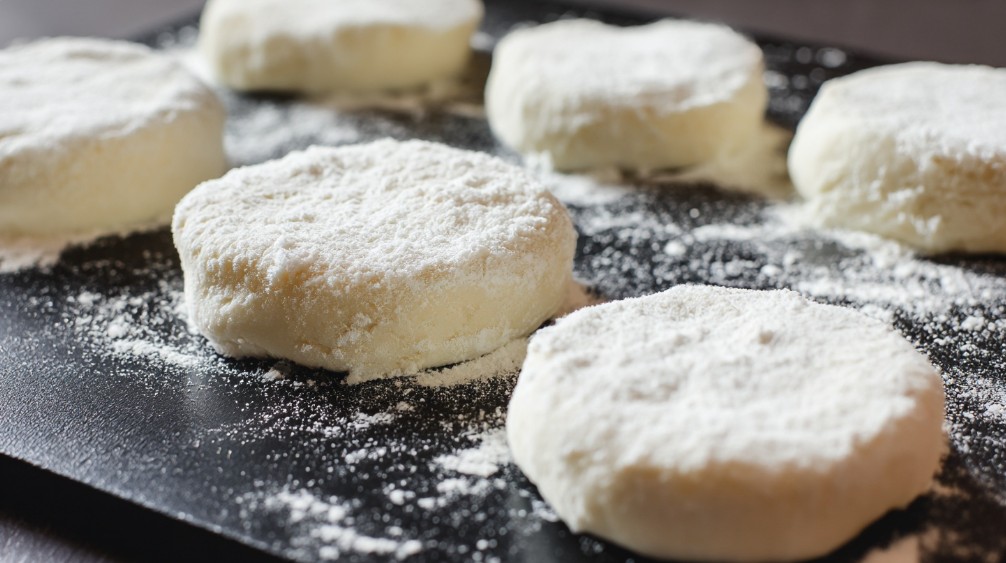
Ideally, pizza dough with 60–65% hydration should be soft but not liquid. When you press it with your finger, it springs back but doesn’t return immediately. If you stretch a piece between your fingers, it doesn’t tear right away but gives a transparent ‘window.’ This is the moment: the dough is alive, ready to work.
Tip: Moisten your hands while working with the dough — this will help avoid unnecessary sticking and not dry out the surface.

Why patience is important: autolysis, rest, fermentation
I used to always rush: quickly kneaded, immediately stretched, and then wondered — why doesn’t the crust stretch, why does the dough tear? It turns out, dough loves pauses. The first important moment is autolysis: when you simply combine water and flour and let it sit for 20-30 minutes. During this time, gluten begins to form on its own, the dough becomes more pliable, and kneading becomes easier.
After kneading, give the dough another pause — 10-15 minutes. Then a short ‘punch down’ (fold a couple of times and return to the bowl) — and rest again. When the dough rises, ferments, it accumulates flavor, becomes soft and elastic. It’s not just chemistry — it’s time working for you. The smell also changes: initially moist, slightly ‘floury,’ after an hour — already slightly bready, with a hint of sourness.
Here’s a useful publication for you: Where and how to store grains, flour.
Tip: If you have time, leave the dough in the fridge overnight — slow fermentation gives better structure and flavor.
Temperature: why it affects everything
One of the most common traps is working with dough in a cold kitchen or using ice-cold water. If the dough is too cold, it rises slowly, becomes tough, and doesn’t reveal its flavor. Too warm — you risk getting a sticky, unpredictable mass that quickly loses shape.
Once, I had to knead pizza when the kitchen was 16°C — the dough just wouldn’t rise. I thought something was wrong with the yeast, but it was the room temperature. Optimal — when the water is room temperature, and the kitchen is not too cold. If it’s summer or the oven heats the space, slightly reduce the rising time.
Remember: dough reacts to temperature. If it seems like nothing is happening — give it a little more time.
Common beginner mistakes and how to avoid them
- Add flour when the dough seems sticky — and get a tough, dry base.
- Don’t let the dough rest. Trying to stretch it immediately leads to tearing or a ‘rubbery’ structure.
- Rush with stretching: don’t feel resistance, tear the dough, get uneven thickness.
- Ignore the temperature of the water and room.
- Add too much yeast to speed up the process — the taste becomes ‘yeasty,’ and the structure is fluffy but unstable.
Tip: If the dough is too sticky — stop, give it 10 minutes of rest. Often, this is enough to make it more pliable without additional flour.
I’ve had cases where the dough seemed completely ‘off’: sticky, spreading, not rising. Almost always, the reason is either haste or a violation of proportions. Once, I forgot and left the dough for 12 hours in a very warm place — I got a semi-sour, fluffy mass that no longer held its shape. Since then, I’ve treated time and temperature with respect.
What ‘correct’ dough looks like: visual and tactile cues
Here’s what I look for with my hands every time — the dough is smooth, elastic, doesn’t stick to fingers, but isn’t dry either. When you tear off a piece, it stretches, doesn’t tear immediately, has an even structure without lumps. Visually — shiny, slightly moist, but not liquid. If you press it with your finger, a dent remains, which gradually returns.
Microstory
I remember showing a friend who was making dough for the first time: he kept adding flour because he was afraid of stickiness. In the end, he got a hard crust. The next time, I just let him wait, not touch it unnecessarily. The dough became obedient, taut, and he was surprised: ‘Is that all?’ Sometimes, calmness really makes all the difference.
When something goes wrong: how to save the dough and nerves
There are days when everything goes off plan: the dough spreads, sticks, doesn’t rise, or conversely — is too tough. Here’s how I usually act:
- If sticky — give it 10-15 minutes of rest, then handle it a bit with moistened hands.
- If not rising — check the room temperature, leave it for another hour, or place it in a warm (but not hot!) place.
- If too tough — moisten hands with water, knead a bit, let it sit under a towel.
- If nothing helps — turn the dough into focaccia or grissini, but that’s another story.
Tip: Don’t be afraid to ‘let go’ of the dough. Excessive panic or haste is what really spoils the result.
Patience and trust in the process: why it’s harder than it seems
The biggest lesson I learned from working with dough is to learn to wait and not intervene unnecessarily. The temptation to constantly touch, knead, add something else is familiar to almost everyone. But pizza dough, especially with 60–65% hydration, rewards the patient. Leave it — and don’t peek every 10 minutes. You feel how with each hour it becomes lighter to the touch, airy. The smell changes, a slight sourness appears, the structure becomes silky.
Microstory
When I first made dough that stood overnight in the fridge, I was delighted: my hands felt a completely different, ‘alive’ mass. The whole kitchen smelled of bread, and stretching the crust was a pleasure. Since then, I almost always give the dough time — the result is worth it.
Short and long pauses: how they affect the result
There is a difference between a short pause (10–15 minutes) and an overnight rest in the fridge. Short pauses are needed for the dough to ‘rest’ after kneading — the gluten relaxes, the dough becomes more obedient. Long fermentation (6–24 hours) is another level: the flavor is richer, the structure is porous, the crust is crispy. In summer, when it’s warm, 6-8 hours in the fridge is enough. In winter, I leave it overnight, sometimes even until the next day’s lunch.
Tip: If time is short, it’s better to make a few short pauses than to try to do everything at once and get ‘rubber.’
The power of small things: water, flour, salt
The real magic of dough starts with simple things. Water — not icy and not hot, but regular drinking water (you can even use filtered if you have doubts about tap water taste). Flour — for pizza, it’s better to use medium or high protein (gluten) content, but regular flour will also give good results if you don’t rush.
Salt is not just for taste — it affects the structure. Add it after autolysis, when the flour has already absorbed the water. Adding salt too early can slightly slow down gluten development, but if you’re not aiming for perfection, you can add it right away.
Microstory
I remember how an acquaintance decided to replace water with milk — he thought the dough would be softer. The result was surprising: the dough turned out heavy, the crust burned faster than the middle could bake through. Classic is water and flour. Yeast — minimum, salt — to taste.
Conclusions that are felt with hands
Pizza dough is not only about the formula but about patience, attention, and a bit of courage. The 60–65% hydration formula is an optimal start for a home kitchen. But real control comes when you start trusting your hands, looking at the dough, listening to the smell, feeling its elasticity and softness. Don’t be afraid of mistakes — they teach better than any books.
Now tell me: how do you feel the dough? What were your ‘scary stories’ or little victories with pizza dough? Share your experience — I’m curious to know how you handle it in your kitchen.