The Secrets of Restaurant-Style Syrniki: What Makes Them Tender
I remember the first time I tried to make syrniki at home. My mom said, “The main thing is not to overload the dough with flour.” As usual, I overdid it and ended up with something resembling flat cakes. Many years have passed since then, but the fear of ruining syrniki still haunts many. I often receive messages like: “They turn out rubbery,” “They spread on the pan,” “They don’t look like the ones in cafes.” Sounds familiar? It does to me too. That’s why today we’ll talk not about the recipe, but about the logic and feel—why syrniki can be tender or tough, and how to learn to catch this balance with your hands, nose, and eyes.
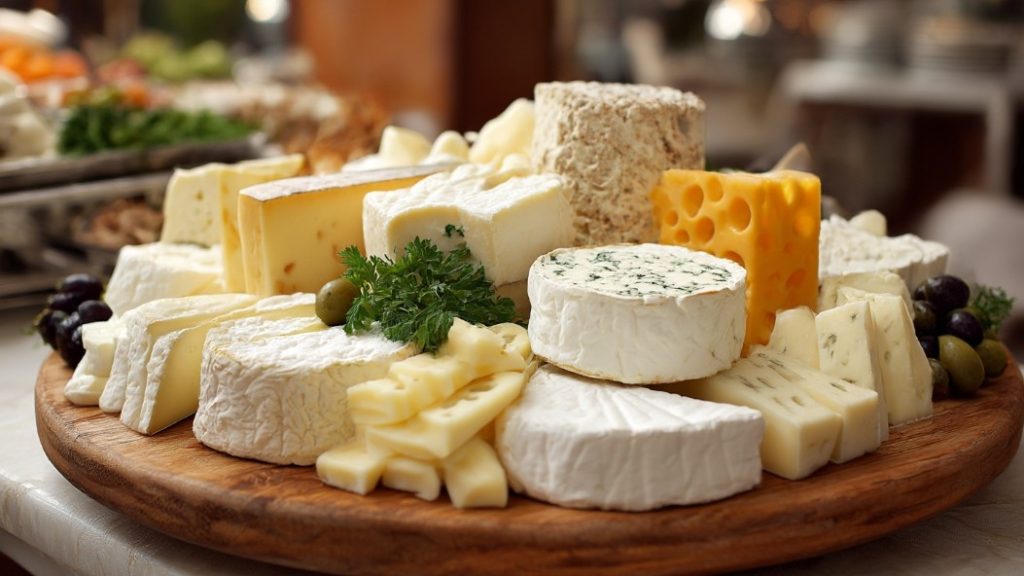
How Cheese Choice Affects Texture
Let’s start with the most important thing. Cheese is not just an ingredient. It determines everything: taste, aroma, structure. You might think, buy a pack of cheese and go ahead. But the difference between homemade and store-bought is noticeable even to the touch. Once, I came across cheese that seemed unable to hold its shape at all. Everything was spreading, the dough was watery. Another time, it was dry, almost crumbly. Both situations lead to problems.
Soft, moist cheese gives tenderness, but if there’s too much moisture, the syrniki won’t hold their shape and will spread. Too dry, and the dough won’t stick, the syrniki will crumble or become hard.
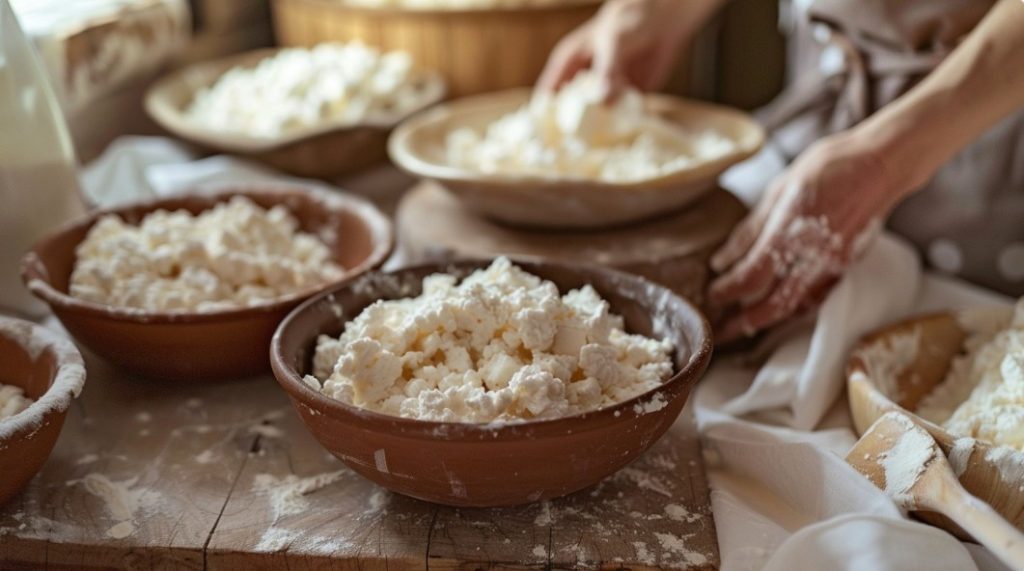
- If the cheese is grainy and dry, you can sieve it or lightly sprinkle it with milk.
- Too moist cheese is better to squeeze through cheesecloth or let it sit in a sieve until the whey drains.
A simple test helps me: I take a handful of cheese and squeeze it in my palm. If moisture remains, it needs to be squeezed. If it crumbles, it needs to be moistened.
Why Store-Bought Cheese Often Fails
Industrial cheese often contains a lot of whey or stabilizers that hold shape in the pack but not in the dough. I’ve seen syrniki from such cheese spread right on the pan. If there’s no good homemade cheese, choose one with minimal ingredients and maximum dry matter, look for a thick consistency.
Tip: Always taste the cheese before cooking. If there’s a sourness or smell of old milk, syrniki won’t hide it.
How Much Flour is Needed: Balancing Lightness and Shape
In most cases, syrniki become “rubbery” because there’s too much flour in the dough. Flour is needed to hold the shape, but it shouldn’t take the lead role. Once, I watched someone on a home kitchen add flour until the dough stopped sticking to their hands. That’s a mistake. Syrniki dough should be a bit sticky, otherwise, they’ll be too dense.
I always rely on tactile sensation. If the dough is tender, soft, but still a bit sticky—that’s ideal. It’s important not to dry it out with excess flour during shaping. It’s better to coat the already formed syrniki in flour than to add too much to the mass itself.
- Don’t try to make the dough completely non-sticky—this almost always leads to hard syrniki.
- Add flour in portions, mix gently, don’t overload the mass.
- When shaping syrniki, you can lightly grease your hands with oil or water.
This stage is the most delicate moment in cooking. Especially if the cheese is of different types: sometimes even the same pack gives different results on different days.
Why It’s Important Not to Overwork the Dough
If you knead cheese with flour for too long, it starts to “stretch,” and after frying, the syrniki become tough. I noticed this in my practice: when I cooked syrniki with children, they were always fluffier because kids don’t like to mix for long. It’s enough to just combine the ingredients without turning everything into a homogeneous mass.
Frying Temperature: Feel, Sound, Control
Syrniki often “sink” or burn because the pan temperature is set incorrectly. I’ve seen people put the pan on full power, and within a minute, the syrniki turn black while remaining raw inside. On the other hand, if the heat is too low, the syrniki absorb too much oil, become greasy, and the crust doesn’t form.
I always rely on sound. If you place a syrnik on the pan and hear a light, non-aggressive sizzle, the temperature is perfect. If the sizzle is loud, almost like deep frying, reduce the heat. If there’s almost no sound, the pan isn’t hot enough yet.
- The pan should be well-heated but not overheated.
- There should be little oil—just enough to cover the bottom.
- Fry syrniki on medium heat, don’t rush to flip them.
I often lift one syrnik with a spatula to check if the bottom side is golden. If the color is golden, it’s time to flip.
Why Syrniki Sometimes Spread
If the temperature is too low, syrniki start to “melt” and lose shape. This signals that the dough is too moist or the pan isn’t heated enough. Another reason could be too much leavening agent or baking soda (if you add them). In restaurant practice, I simply avoid any leavening agents: they make syrniki fluffy but often crumbly and unstable.
Tip: It’s better to fry syrniki in small batches to easily control the temperature and not lower it with excessive loading of the pan.
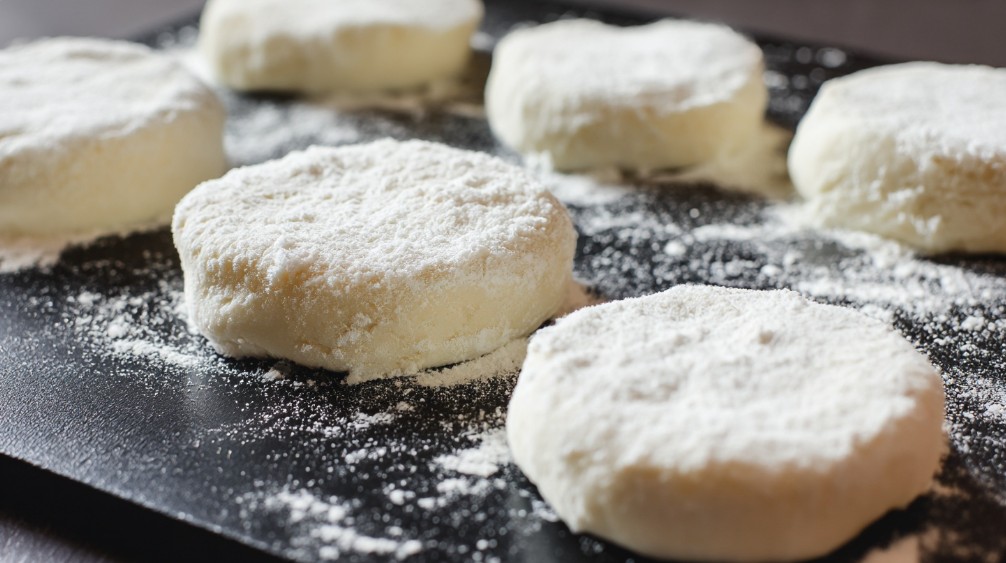
Visual and Tactile Cues: How to Know Everything is Going Right
The main secret is to feel the dough with your hands, nose, and eyes. Before frying, syrniki should be soft, not spread, but also not hold a perfect shape like plasticine. When I worked in a cafe, I often saw newcomers form perfectly round balls—and then wonder why they don’t look like restaurant ones. Real syrniki are slightly uneven, with a lively texture, slightly fluffy.
- The dough should be tender but not liquid.
- Formed syrniki easily hold their shape but spring back when pressed.
- After frying, the edges are soft, the center is tender, not “rubbery.”
Aroma is another signal. If you smell fresh cheese and a light crust, everything is fine. If you smell flour or burnt oil, it’s worth lowering the temperature or changing the pan.
Why It’s Important to Let Syrniki “Rest”
In professional kitchens, syrniki are often left to rest for 5–10 minutes after frying. During this time, they become even more tender, and the structure evens out. I always place them on a rack or paper to drain excess oil. Don’t rush to taste them right off the pan—let them “gather” and unfold.
Common Mistakes for Beginners: How to Avoid Them
There are many mistakes here, and most of them are familiar to me personally. I’ve gathered the most common ones and offer short tips on how to avoid them.
- Too much flour. The most common. Keep the dough soft, work quickly and carefully.
- Cheese with excess moisture. Squeeze the cheese if you see it’s “flowing.”
- Frying on too high heat. It’s easy to get a black crust and raw center. Keep medium heat.
- Adding leavening agents or soda. This isn’t always necessary. Often makes syrniki unstable.
- Forming perfect shapes. A lively, uneven surface is normal. Don’t strive for perfection.
My favorite story: once at a master class in a restaurant, a lady couldn’t achieve tenderness for a long time. It turned out she always “played it safe” and added a little more flour “just in case.” When we tried to make the dough as soft as possible and coat the syrniki only on the outside, her syrniki became like those in good cafes.
Tip: If you’re afraid the syrniki will fall apart, add a little semolina instead of flour—it will absorb moisture but won’t make the structure coarse.
What to Do If Syrniki Aren’t Tender
First, don’t panic. Syrniki aren’t mathematics. Each product has its own character, and even with the same actions, the result can differ. If the syrniki are dense, check:
- Is there too much flour in the dough? Try reducing the amount next time.
- What cheese are you using? Choose soft, non-sour, without excess liquid.
- Is the frying temperature not too high? Try frying slower.
If the syrniki fall apart, try coating them in flour twice—before frying and right before the pan. Or add a spoonful of semolina and let the dough stand for 10 minutes—the semolina will absorb excess moisture.
Once, my syrniki didn’t hold their shape at all: the cheese turned out to be almost liquid. I simply formed them with a spoon, placed them on a hot pan, and fried them quickly on both sides, then kept them in the oven for 5 minutes—and they came together. Not perfect, but you can almost always save the situation.
How to Make Syrniki Even More Tender
Here are a few small tricks:
- Add a spoonful of sour cream to the dough—it softens the texture.
- Work with cold hands so the dough doesn’t overheat.
- Use a bit of cornstarch instead of some flour for lightness.
I love experimenting: sometimes I add lemon zest or a pinch of vanilla to the dough. It doesn’t affect tenderness but adds interesting flavor notes.
The Logic of the Process: Why Syrniki Turn Out Differently
Syrniki aren’t about exact calculations but about feeling. Everything depends on how you handle the product. Very often, beginners try to “align” syrniki to the state of perfect balls, overload the mass with flour, fry on high heat—and wonder why they are so different from restaurant ones. I always say: learn to “listen” to the cheese, feel the moisture in your hands, smell how the dough smells.
- Each cheese has its own moisture, acidity, structure.
- Flour is also different: moisture, gluten, even the brand affects the result.
- The pan, temperature, even the air in the kitchen—all matter.
I once conducted an experiment: three different people made syrniki from the same products. The result was different—some had fluffy ones, some dense, some spread out. The essence is that syrniki are a reflection of your hands, movements, mood. Don’t be afraid of mistakes, they are part of the process.
When It’s Time to Experiment
When you feel you understand the logic, try adding dried fruits, raisins, apples, poppy seeds to syrniki. These are separate stories, but the main thing is not to lose the balance between moisture and flour.
Practical Lifehacks for Perfect Tenderness
Over the years in the kitchen, I’ve developed a few simple rules that help achieve tender syrniki regardless of circumstances:
- Choose cheese with minimal ingredients, with a neutral smell.
- Always test the mass with your hands: the dough should be soft and slightly sticky.
- Don’t be afraid of stickiness—it ensures tenderness inside.
- Fry on medium heat, don’t rush.
- Let the syrniki rest for 5 minutes after frying.
- Add semolina or starch if the cheese is very moist.
- Shape syrniki quickly, don’t roll the mass for too long.
A little story: once I was making syrniki with my wife’s grandmother. She didn’t have scales, didn’t count spoons—she did everything “by eye,” but her syrniki were always the most tender. Her secret was not to rush, not to complicate, and not to be afraid of doing something wrong. I think this is the main recipe for tenderness.
How to Overcome Fear and Enjoy the Process
Being afraid of ruining syrniki is normal. But it’s important to understand that even the best chefs sometimes have things go wrong. The main thing is not to turn cooking into a test of “right” and “wrong” actions. When I work with beginners, I always say: a mistake is an experience. Once you overdry the dough—next time make it softer. Syrniki spread—reduce moisture or temperature. Enjoy each stage, smell, taste, feel.
The kitchen is a place where you can play. If the dough is sticky, don’t scold yourself, it’s normal. If the syrniki don’t hold a perfect shape, it’s not a failure but a feature of homemade cooking. The more you trust your own hands, the more tender the syrniki will be. And don’t forget to share the result with friends or family. It’s always tastier together.
Syrniki are a story about feeling, not formulas. It’s important not to be afraid of mistakes and to learn to hear the product. Tell me, how do your syrniki turn out? What’s the biggest “kitchen” surprise you remember with them? Share your stories—I’m curious to read how you experience this process.