
These cookies rely heavily on fat and dough handling. Lard provides a crumbly, dry texture, but only if it’s the right kind and kept cold. There’s nothing here to mask flavors or fillings—every mistake is noticeable.
Most common issues are overworking the dough or warming the lard. In the first case, the cookies become hard; in the second, they melt in the oven. Temperature control and brief mixing matter more than proportions.
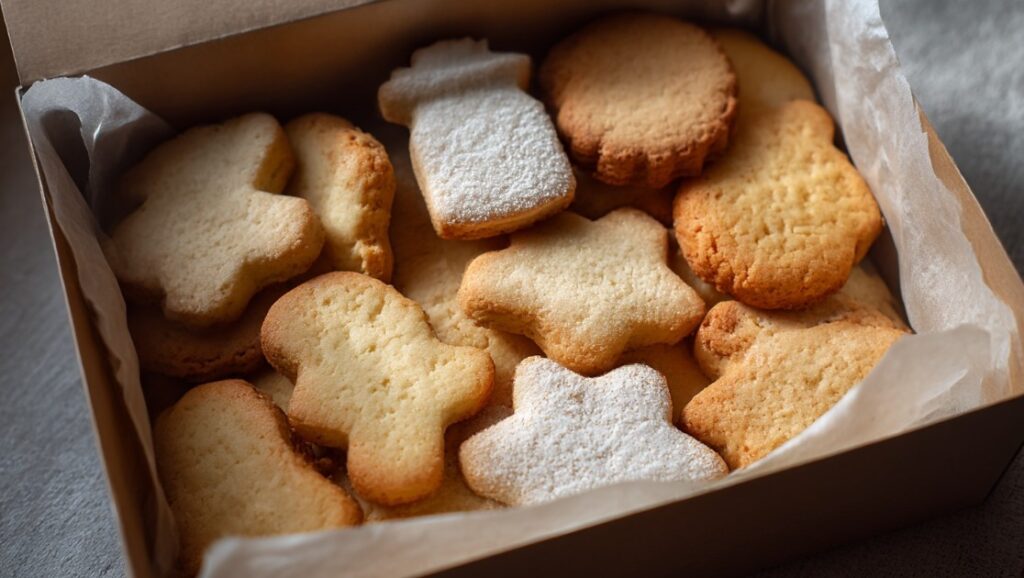
The shape is simple, but it’s crucial that the dough cuts cleanly and doesn’t stick. If it’s too soft, chill it. If it’s crumbly, add a bit more fat, not water. The recipe tolerates minor adjustments, but not chaos.
What to Look for When Choosing Ingredients
Lard.
The lard should be fresh, without any off-smells. It’s best to use homemade rendered lard or a trusted source from a farmer. Old lard can turn bitter, which is impossible to mask. Temperature is key: cold enough to cut with a knife but not crumbly. If unsure, chill it before use. After baking, the aroma should be neutral, not meaty.
All-Purpose Flour.
Use regular flour, not low-protein cake flour. Weak flour results in dough that’s hard to shape. Sifting is not for aeration but for moisture control. Fresh flour absorbs fat more evenly. If flour is old and dry, the dough will need more lard. Avoid adding it haphazardly—better to pause and assess.
Sugar.
Regular white sugar works consistently. Fine sugar dissolves quicker and provides an even texture. Brown sugar changes the taste and color, and isn’t needed here. If sugar is damp, the dough will become sticky. Check it before mixing. Reducing the amount makes the cookies drier, not less sweet.
Eggs.
The egg should be at room temperature. Cold eggs disrupt the fat structure and make the dough spotty. Use standard-sized eggs without adjustments. Fresh eggs bind quickly; older ones extend mixing time. If the egg is large, don’t add extra flour immediately. Check the consistency first.
Baking Powder or Baking Soda.
Use minimally, just to lighten the structure. Excess creates an off-taste and cracks. Soda needs acid, which isn’t present here, so baking powder is safer. Check expiration dates. Old leavening agents don’t work, making cookies dense. Don’t try to fix this by baking longer.

Traditional Homemade Lard Cookies Without Additives
Ingredients
- 200 g lard Use quality lard for the best flavor.
- 100 g sugar Can be replaced with cane sugar for a unique aroma.
- 400 g flour Should be sifted before use.
- 1 tsp vanilla sugar Adds a pleasant aroma.
- 1 tsp baking powder Helps the cookies rise.
- 1 pinch salt Enhances flavor.
Method
- Cut the lard into cubes and combine with the sugar. Mix with a spoon or spatula, without trying to beat. The goal is to evenly coat the fat crystals with sugar. Stop once the mixture becomes smooth. Overheating at this stage results in greasy cookies.
- Add the egg and quickly incorporate it into the mixture. Don't whip—just combine. If the mixture separates, the lard was too cold. Let the bowl sit for a minute, then continue. The consistency should become smooth.
- Separately, mix the flour with the baking powder. Add in parts, mixing briefly each time. The dough should form a ball but not stretch. Stop once it no longer sticks to your hands. Extra flour is the enemy here.
- Form a flat disc, wrap it, and chill. The time depends on the kitchen temperature, but the dough should be easy to cut with a knife. Chilling stabilizes the fat and aids in shaping. Skipping this step is always noticeable in the oven.
- Roll out the dough between two sheets of parchment paper. Keep the thickness even, without pressing on the edges. Cut shapes quickly, avoiding re-rolling the scraps too many times. Each reroll dries out the dough. It's better to make fewer but neater pieces.
- Bake in a preheated oven at 180°C for 20-25 minutes until golden. The cookies shouldn't brown too much on top. Aim for a dry bottom and a light edge color. After removing, let them sit on the baking sheet for a few minutes. Moving them too early breaks the structure.
- Cool the cookies on a wire rack before serving.
Notes
- It's best to chill the dough already formed into a disc—it holds temperature more evenly.
- If the edges crack when rolling out, the dough is too dry, not under-mixed.
- The knife for cutting should be cold and dry; this keeps the edges clean.
- Don't grease the baking sheet—there's enough lard in the dough.
- Parchment is better than silicone as it releases heat faster.
- Don't try to brown cookies based on color—focus on the bottom.
- Moving hot cookies breaks their structure; let them set first.
- If the cookies spread, the dough was too warm before baking.
- Store in a metal tin, not a bag—the crispness lasts longer.


Responses